Infatica Mobile Proxy Documentation
Please note that pool.infatica.io is a geo-location-based DNS record that automatically adjusts based on your server's location.
If you prefer to manually select a gateway for Residential proxies, use the following:
poolus.infatica.io– for North and South America;pooleu.infatica.io– for all regions except the Americas;poolasia.infatica.io– for Asia.
Also, except http & socks5 we also have https, but we do not recommend to use it for performance reasons.
For simultaneous requests, use different ports in the range 10000-10999.
Important note: Each IP address port corresponds to a unique IP address (e.g. pool.infatica.io:10005 and pool.infatica.io:10006 are different IPs).
Infatica account registration
To begin with, you have to register on the Infatica website, purchase a Mobile Proxy plan or Trial period, and create proxy lists to work.
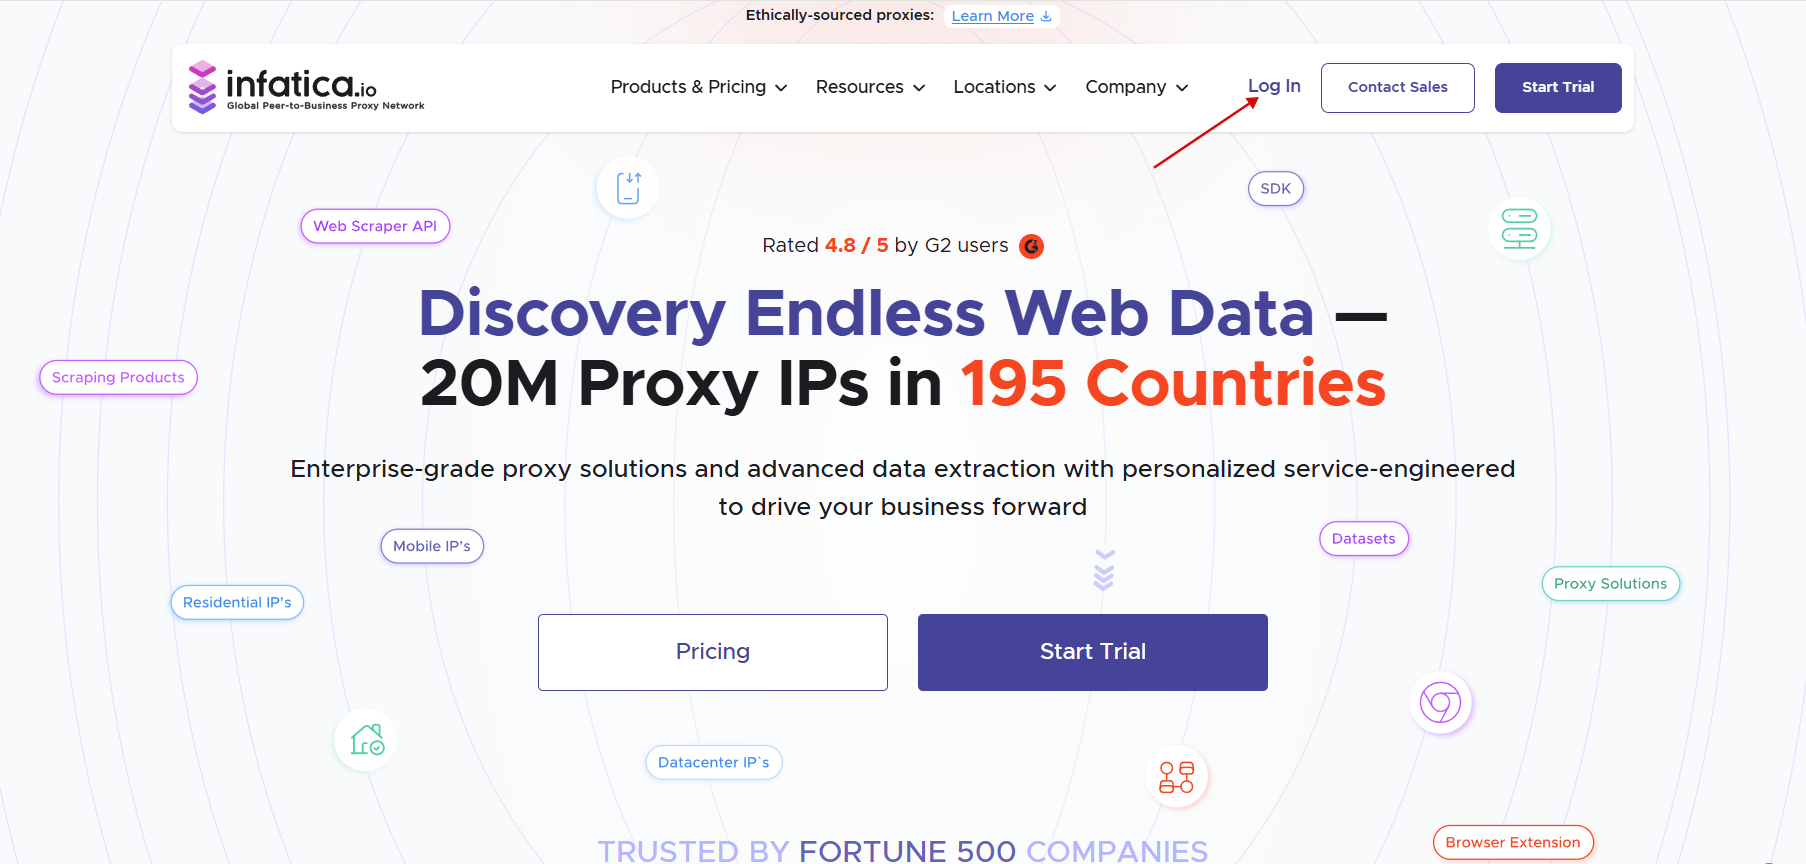
To create an account on Infatica, click the "Log in" button in the upper right corner, then click the “Create Account” button.
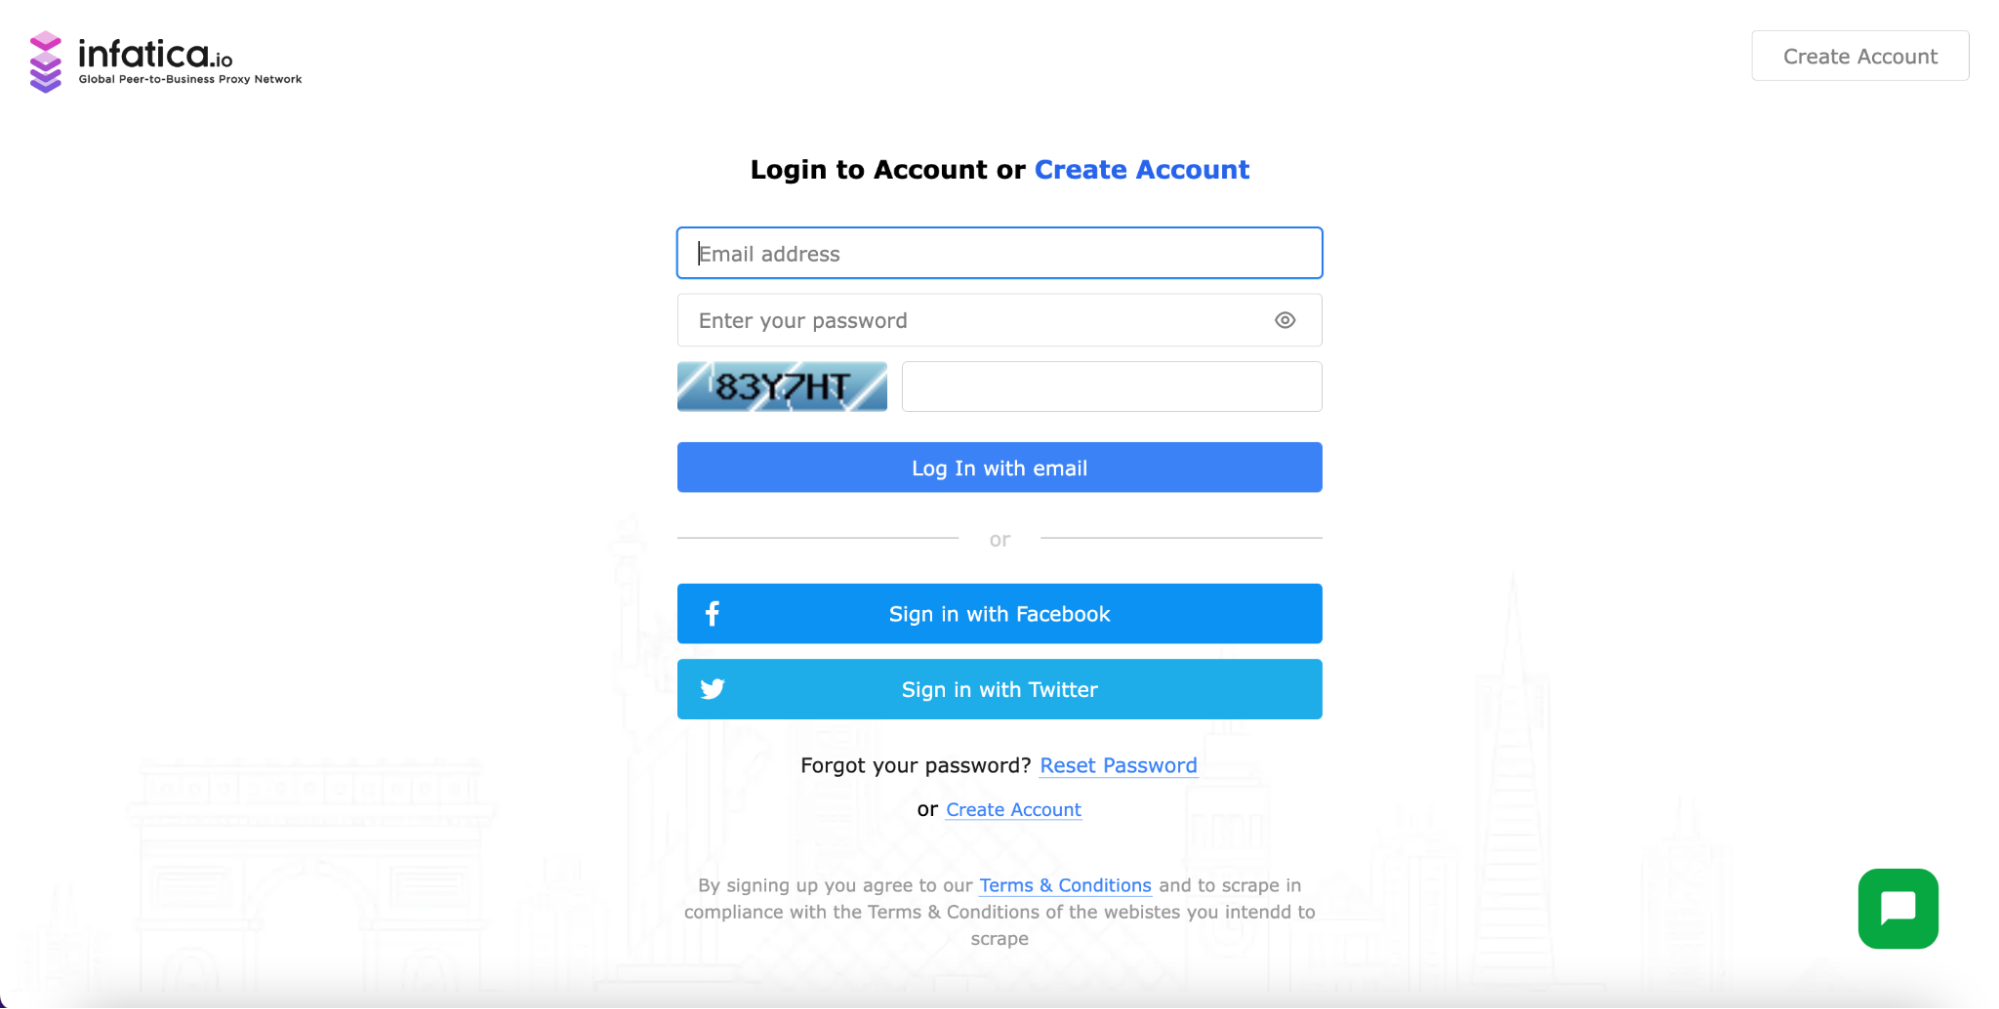
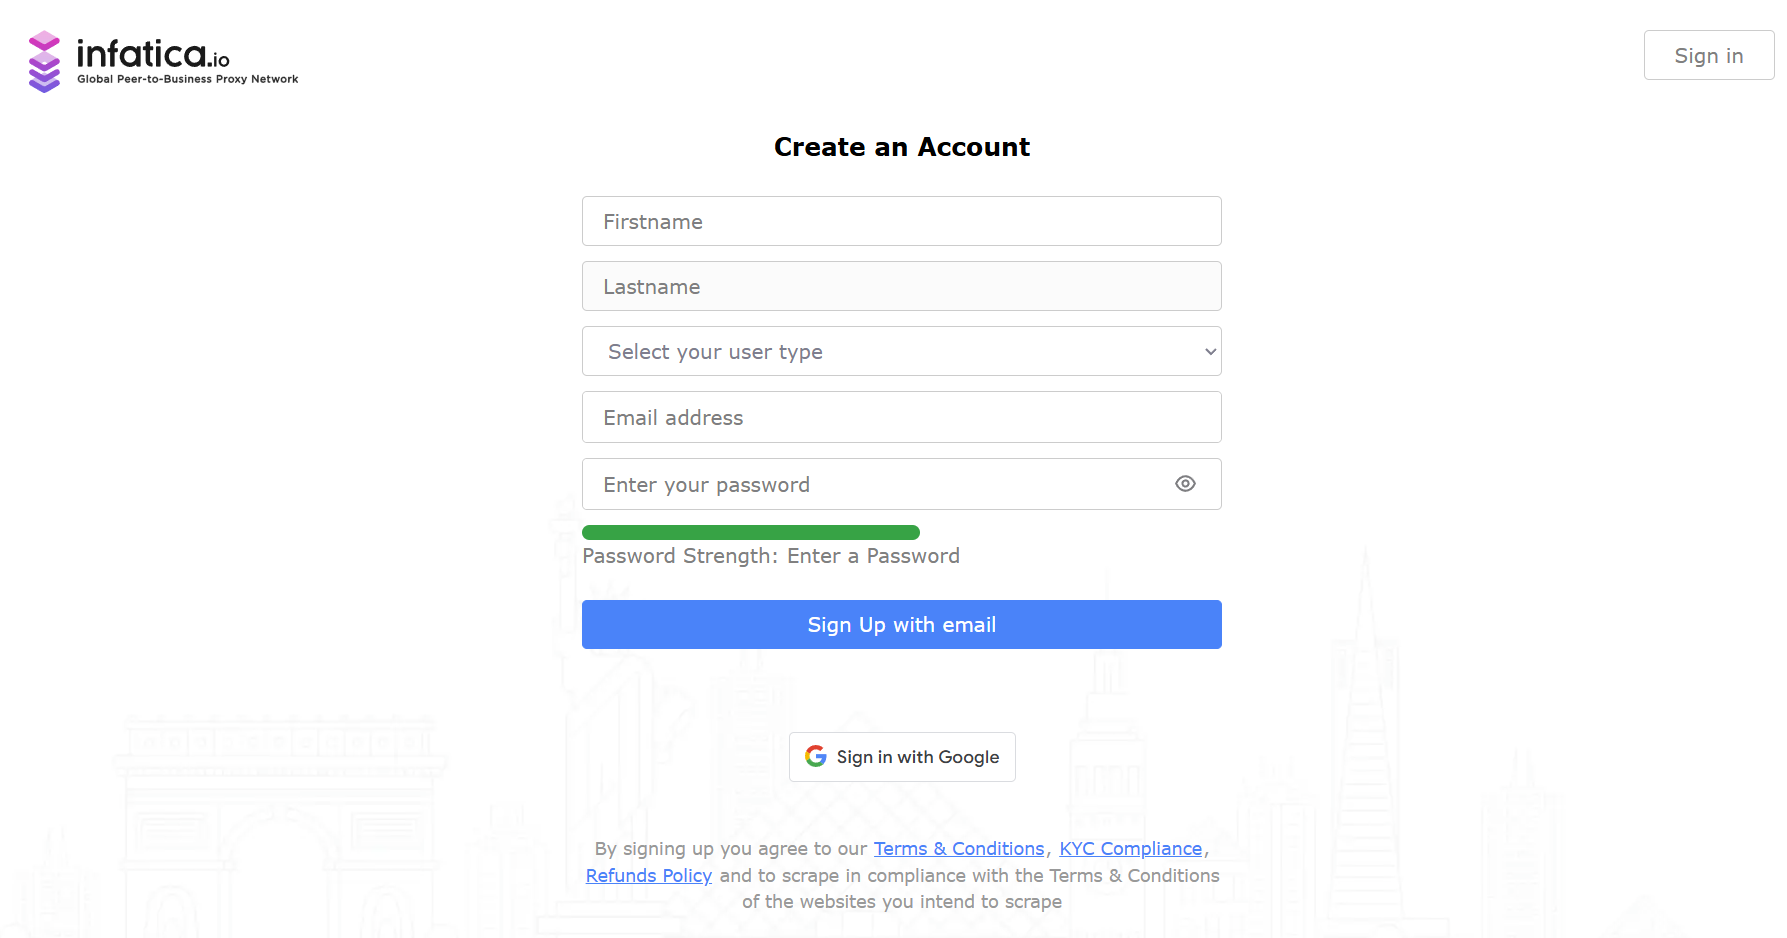
Enter your first name and last name, email, and create a password. Click the “Sign Up with email” button to confirm. You can also sign up via Facebook or Twitter.
After registration, you will be redirected to the Dashboard, where you can purchase a Mobile Proxy plan or Trial period and create proxy lists to work.
Verification process (one-time)
When you top up your balance ("Add Funds") or buy a trial/full plan (by clicking on the "Buy" buttons of any plan) you will be redirected to the verification page, where you must complete a quick KYC verification, take photos of your documents, and selfies.
Click the “Get verified” to start.
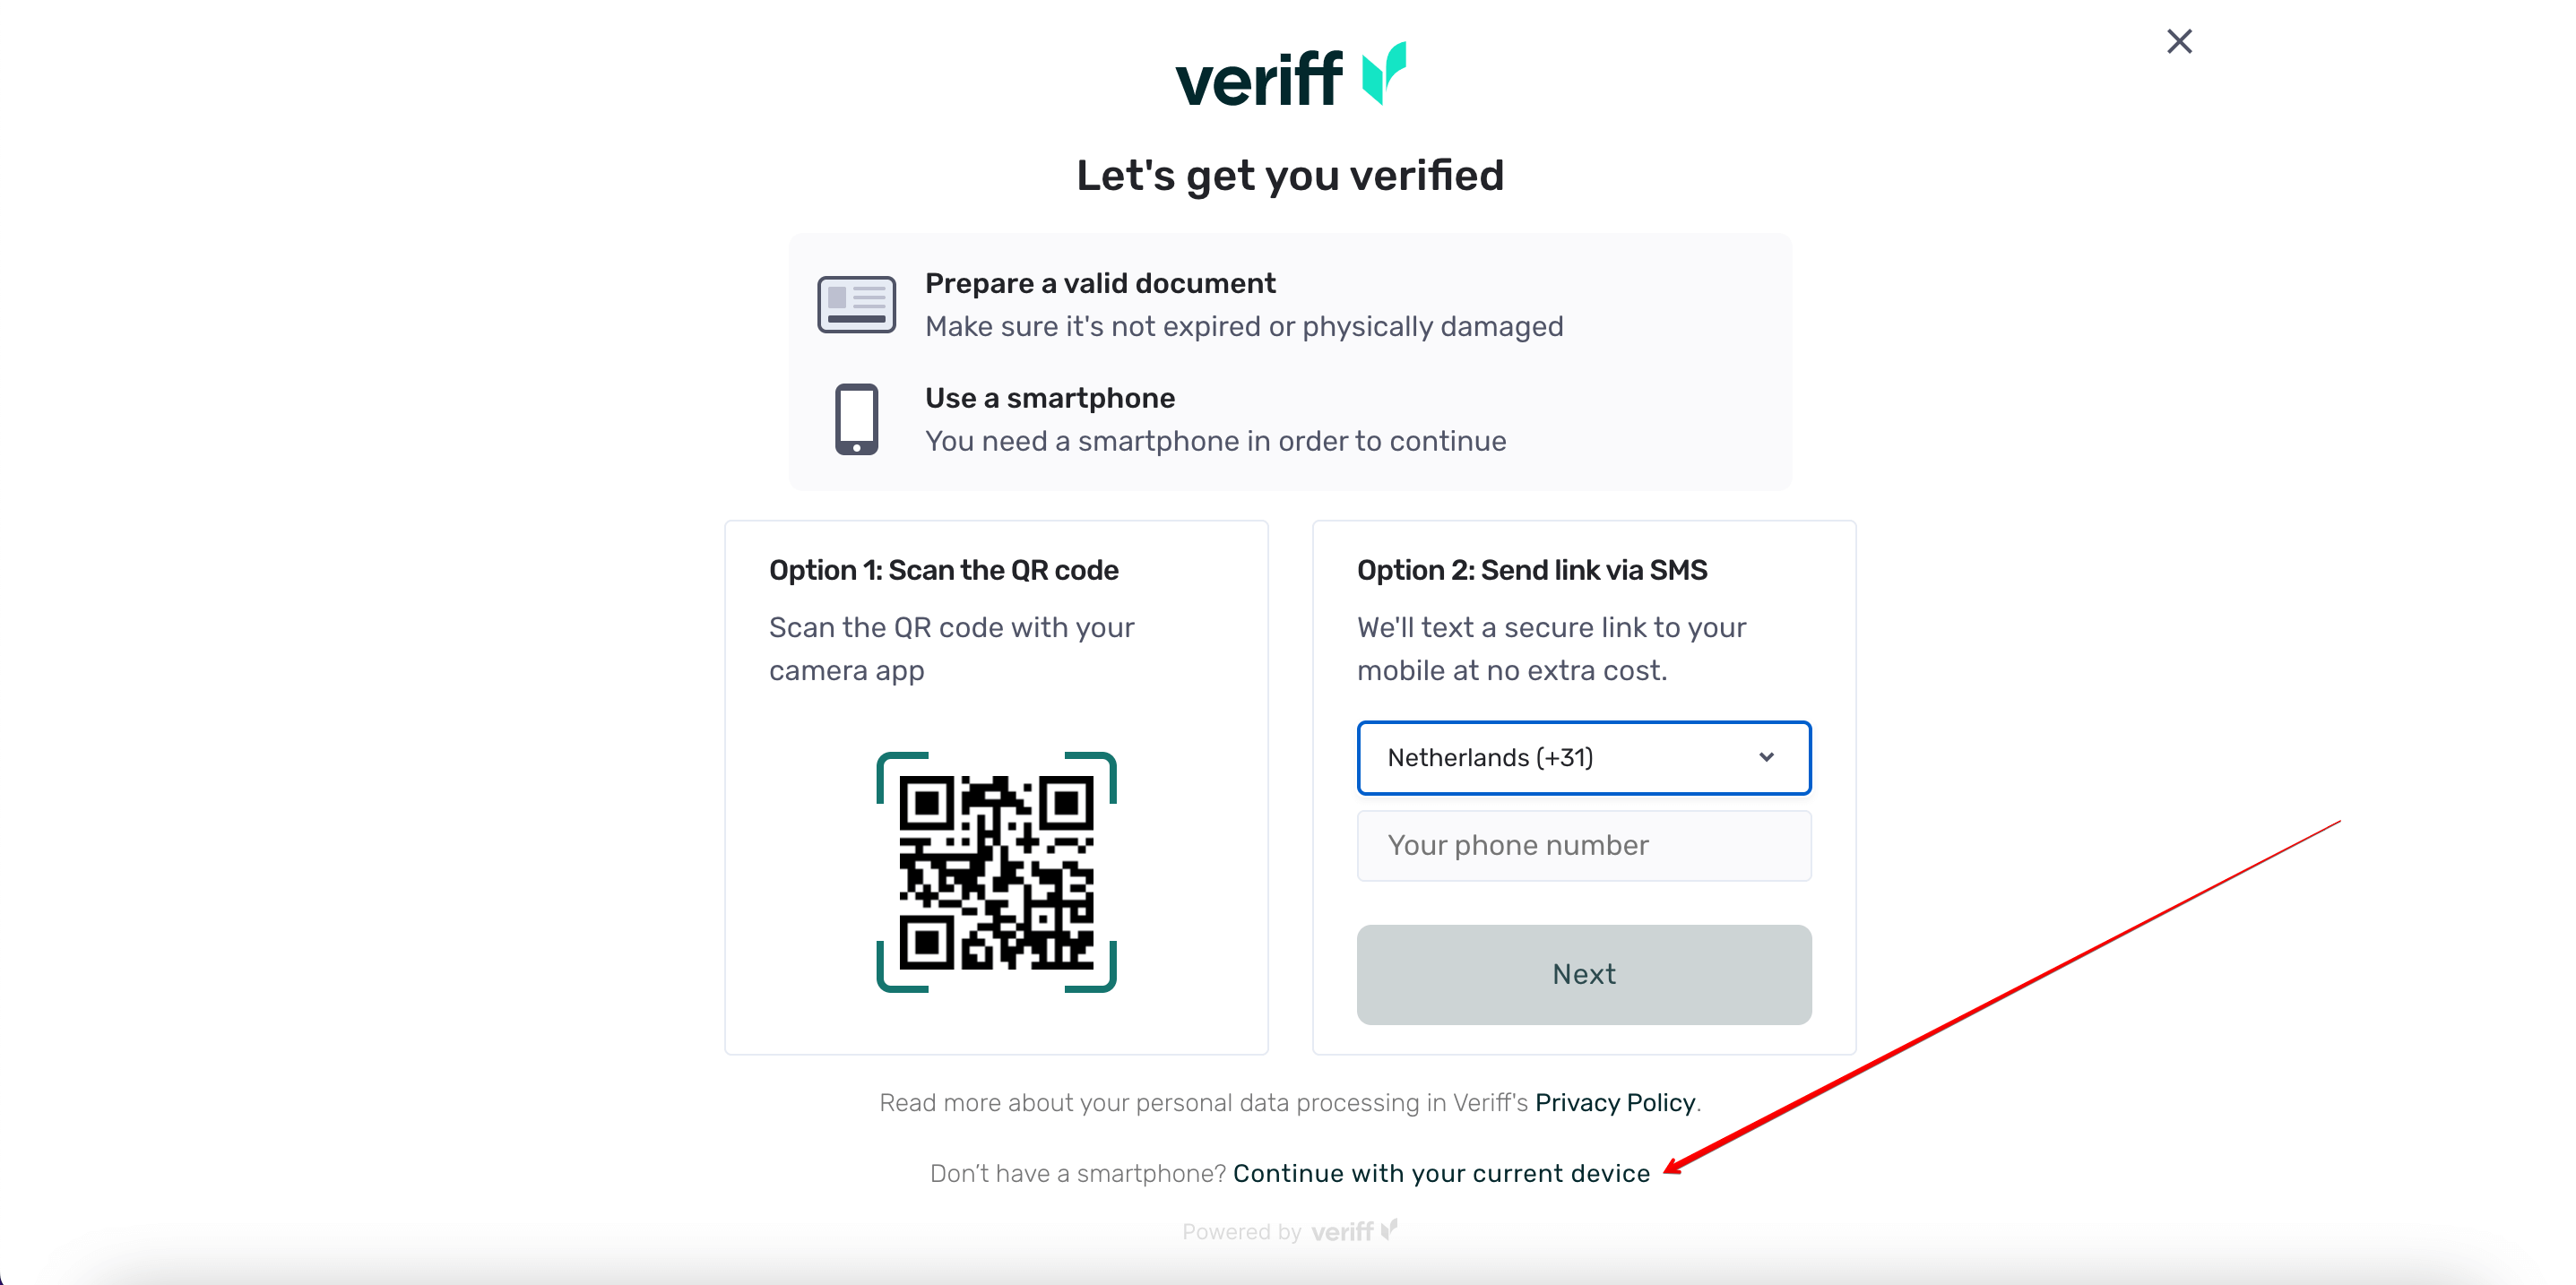
Next, you will be able to verify using your mobile phone or using your current device. Follow the instructions to continue verification.
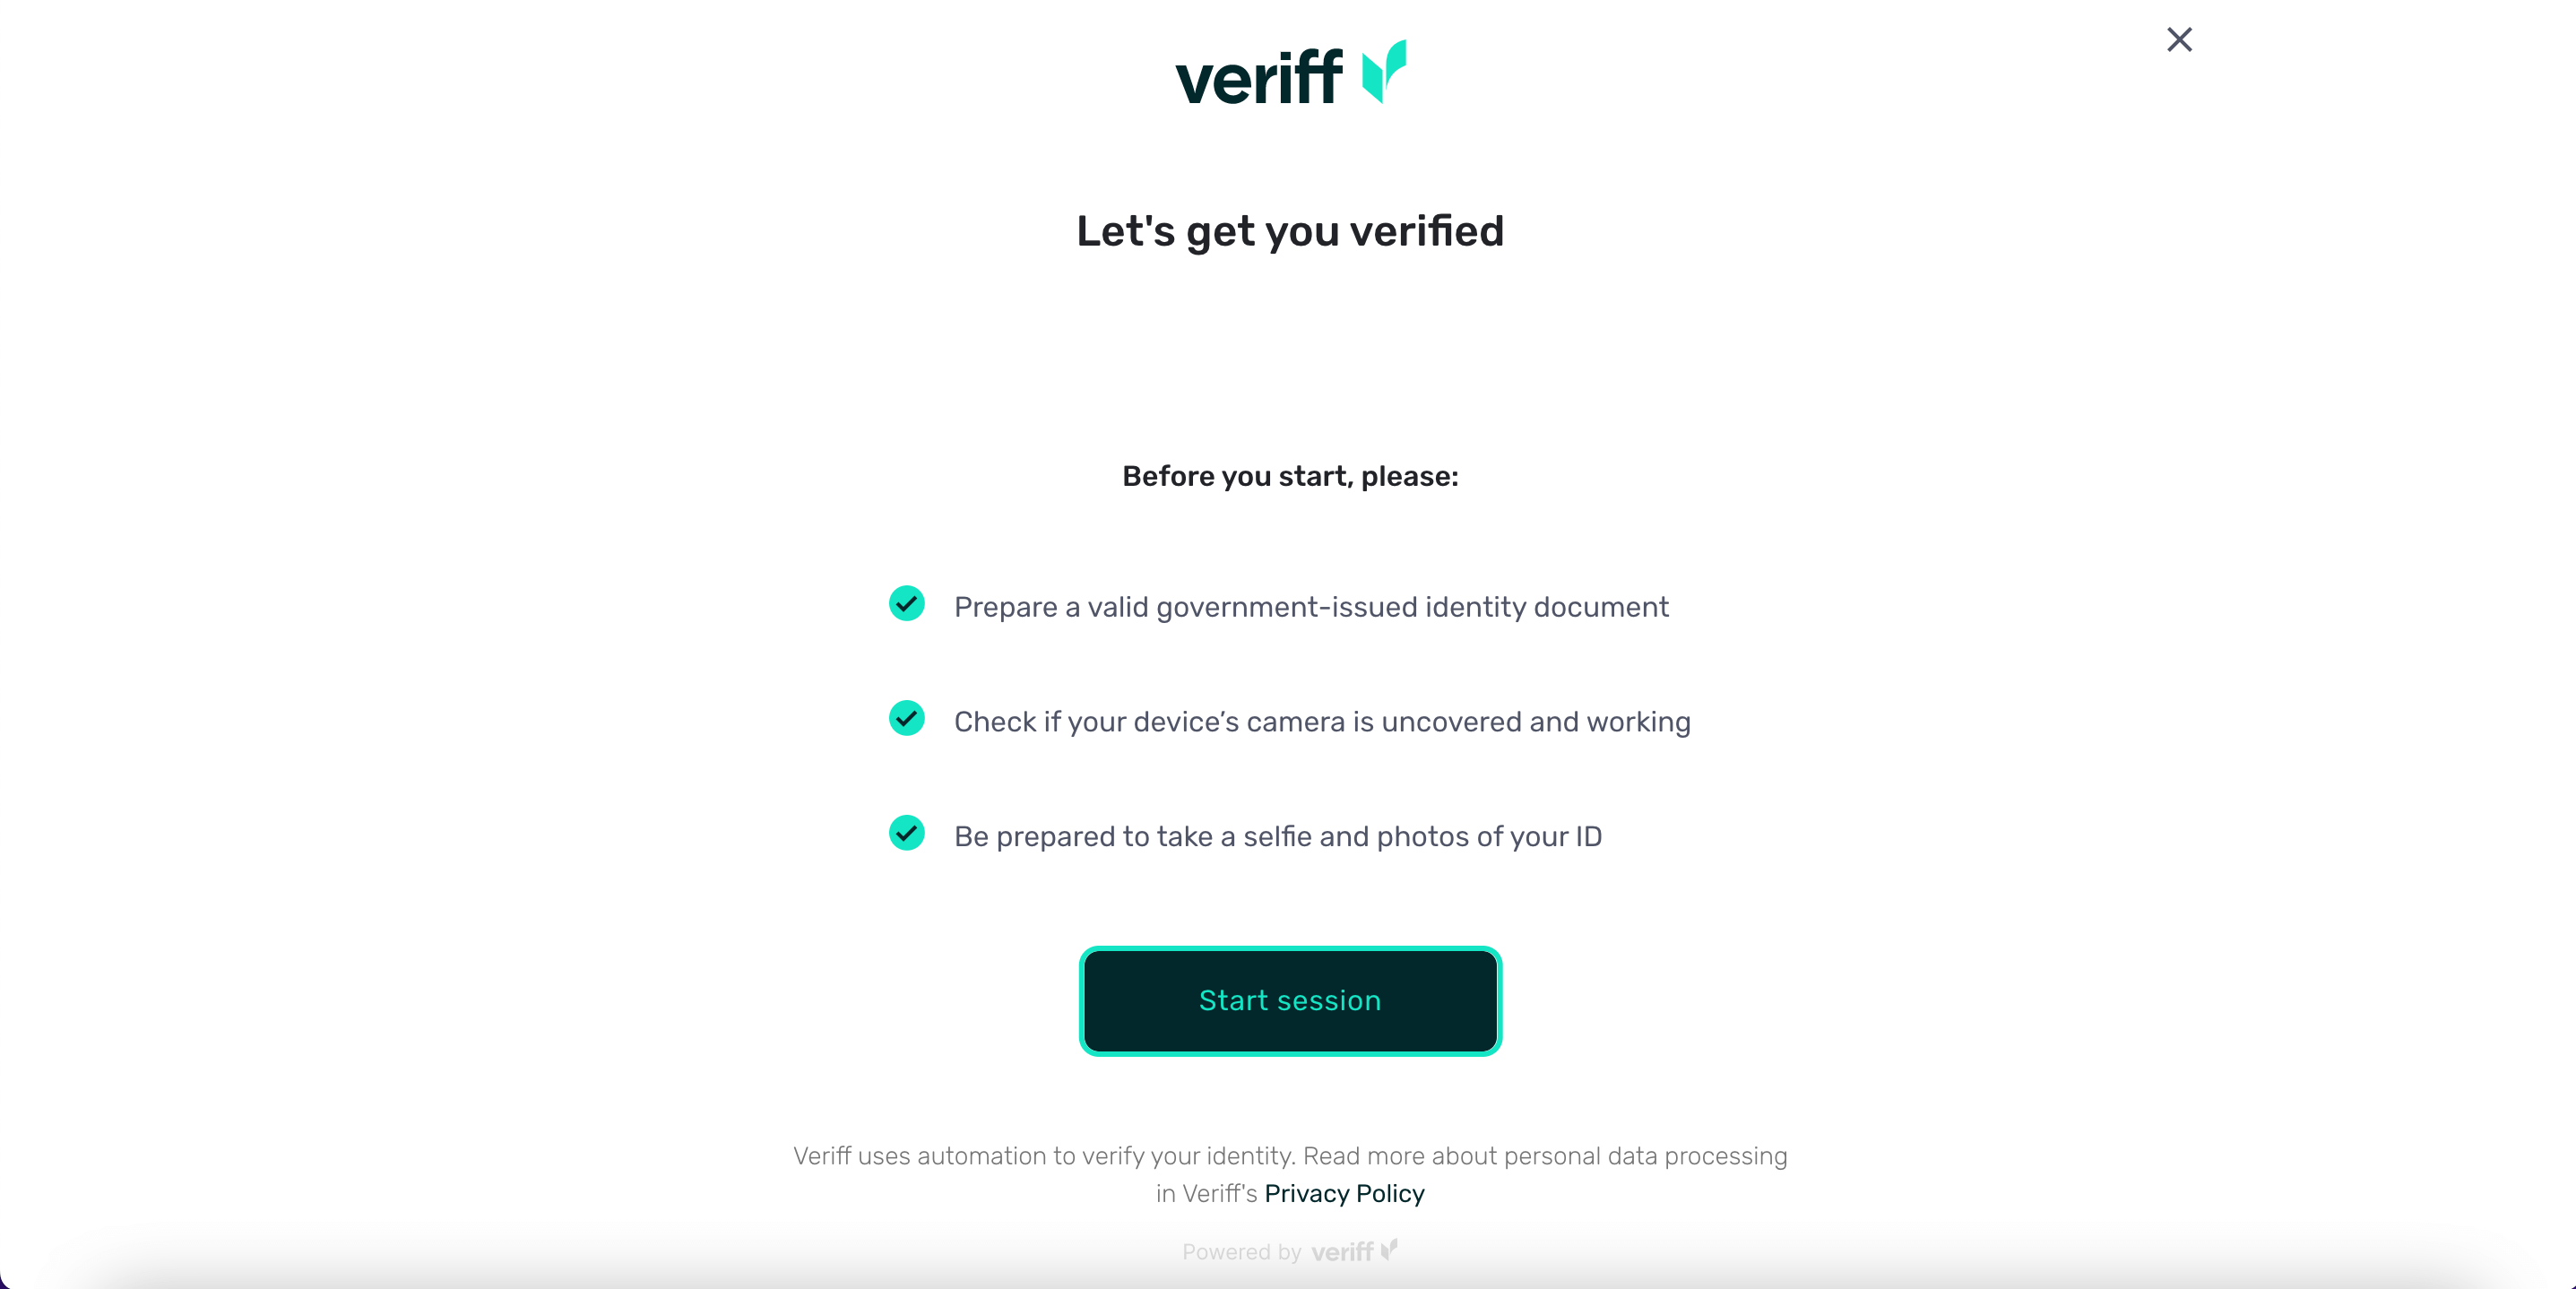
Prepare your government-issued documents and be ready to take selfies, press the “Start session” button to continue.
Take photos of your documents and selfies as instructed.
After successful verification, by clicking the “Continue” button you can purchase a plan that you need.
Purchase a Mobile proxy plan
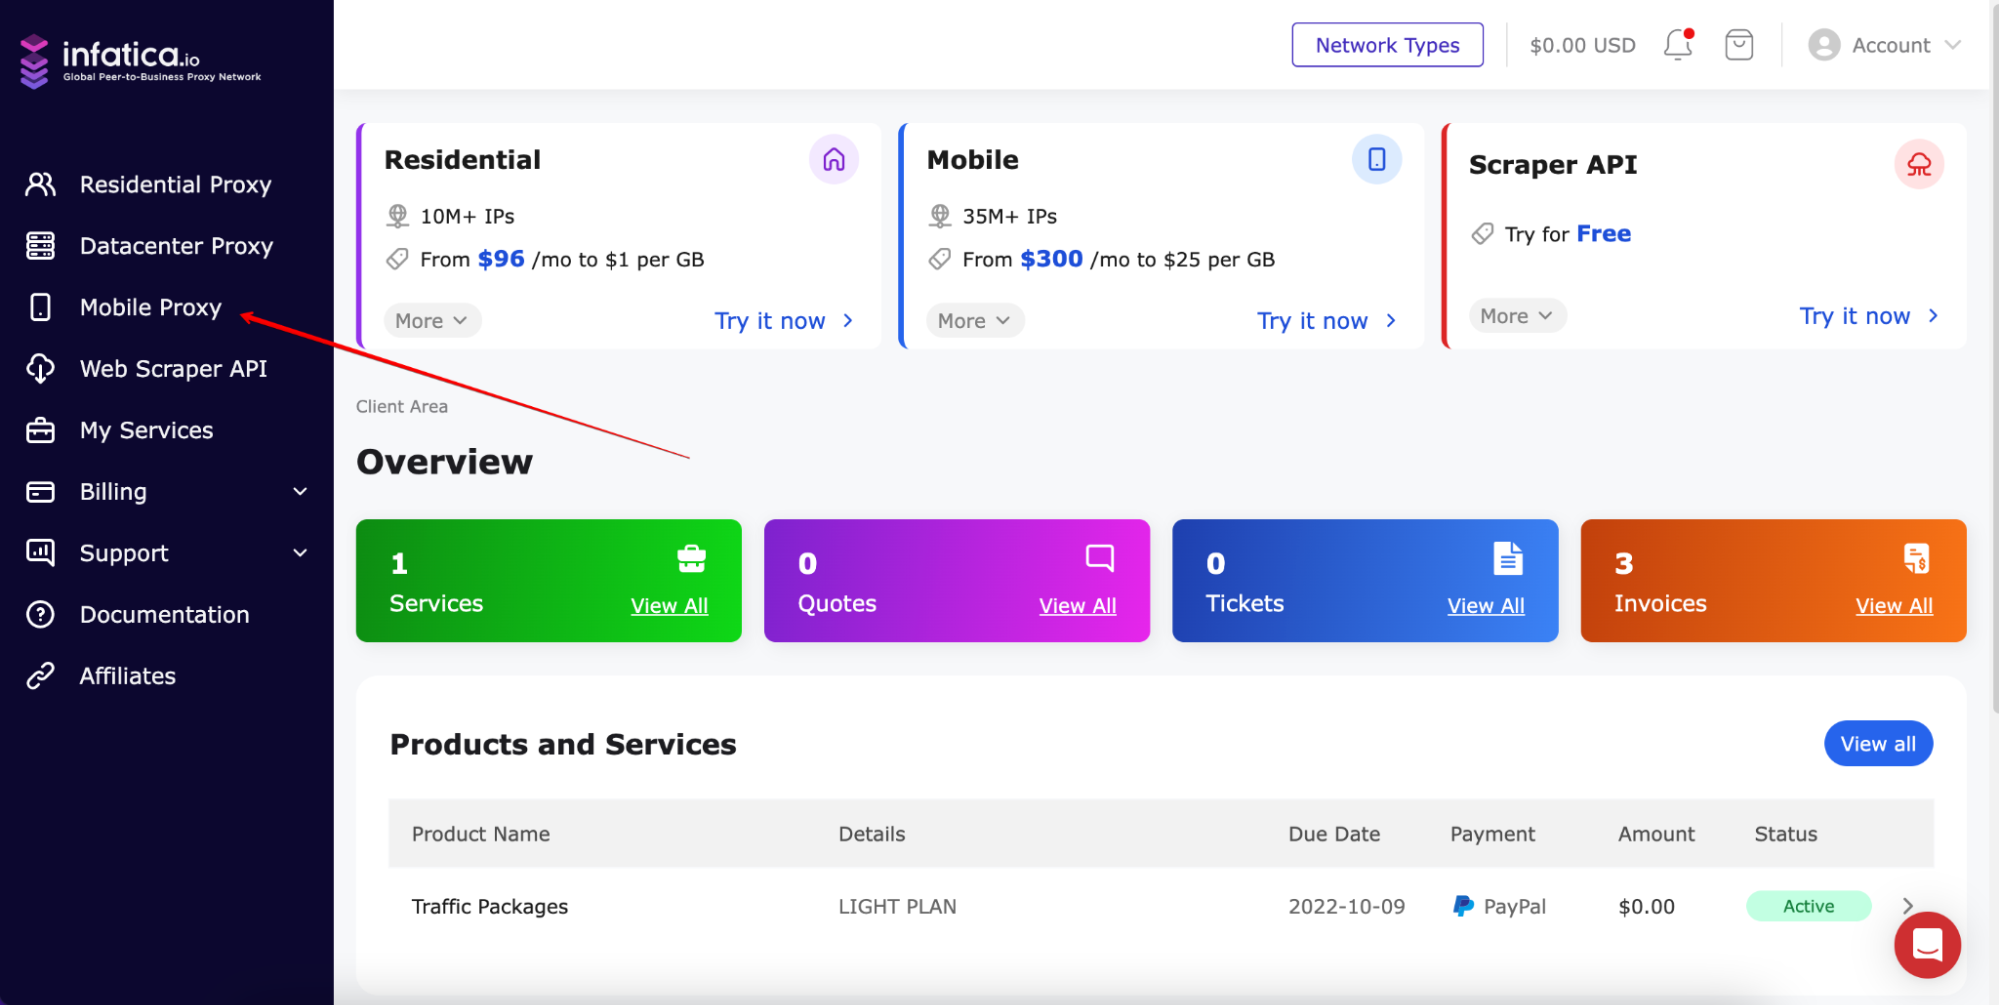
To test Mobile Proxy, you can purchase a seven-day Trial for only $8 with 1 GB of traffic. The trial is available for Credit Card and PayPal only.
Also, you can buy the plan you want immediately, click the "Buy now" button.
Paypal
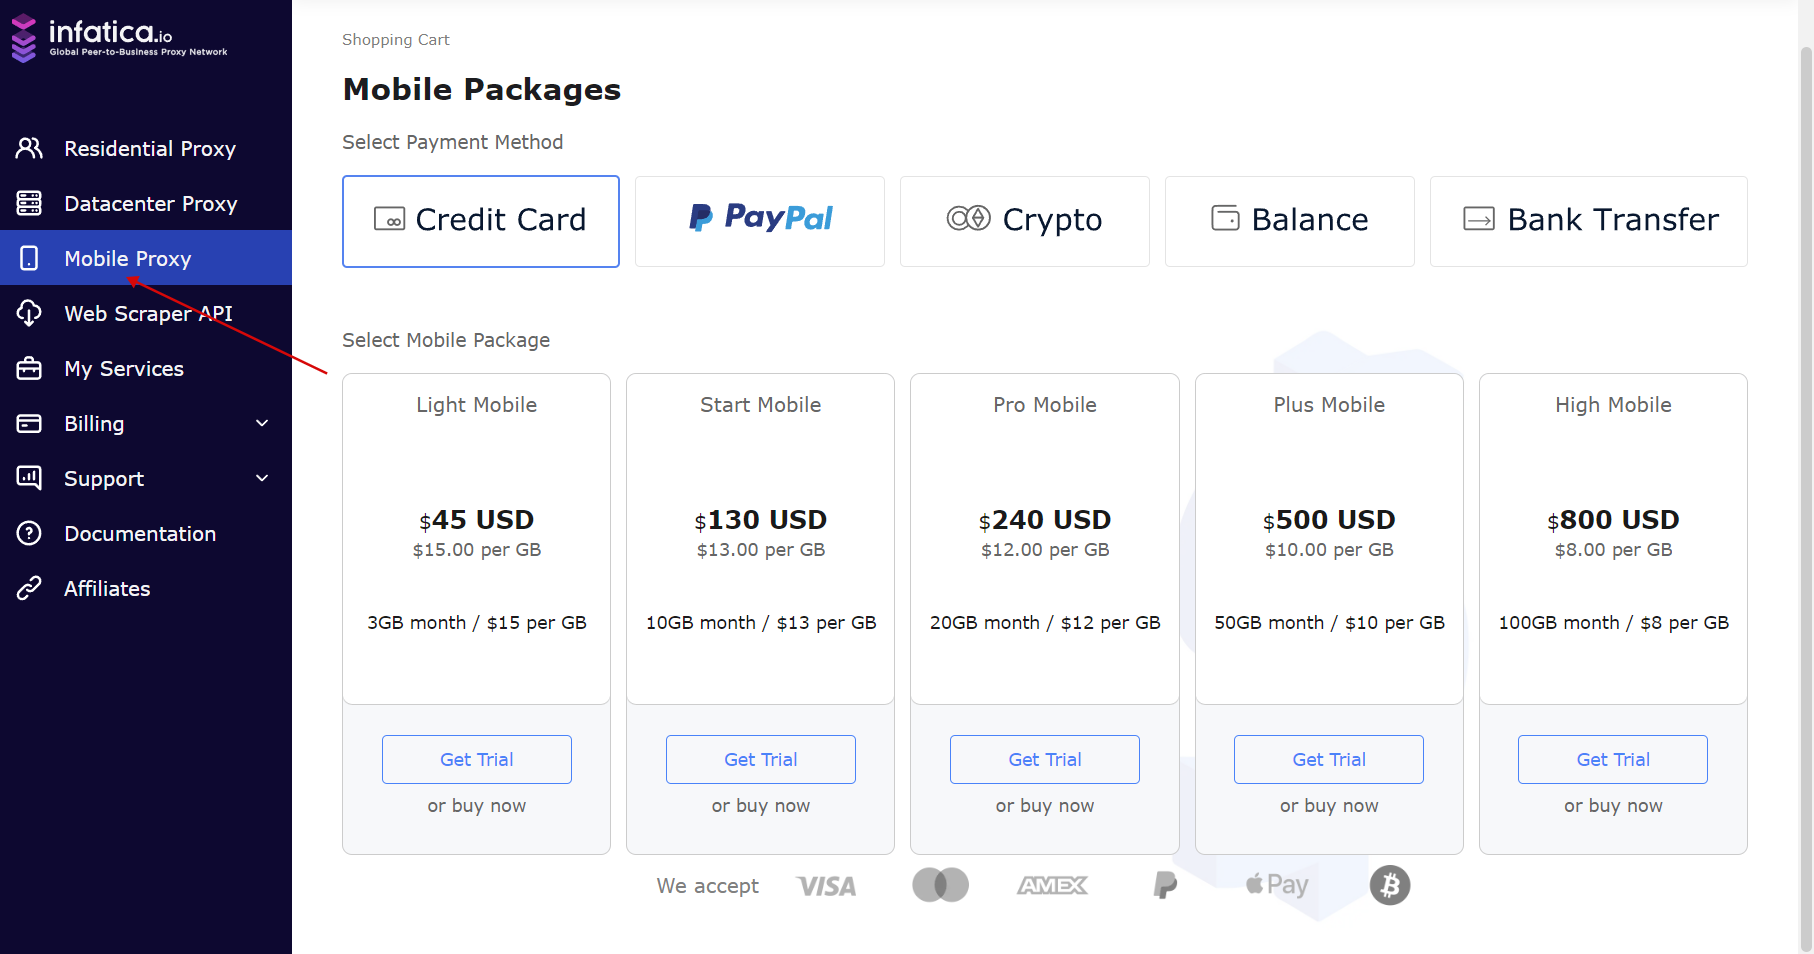
To buy subscription, go to the Services section in your account, select Mobile Proxy, select Payment Method and click "Get Trial" or "Buy now" button.
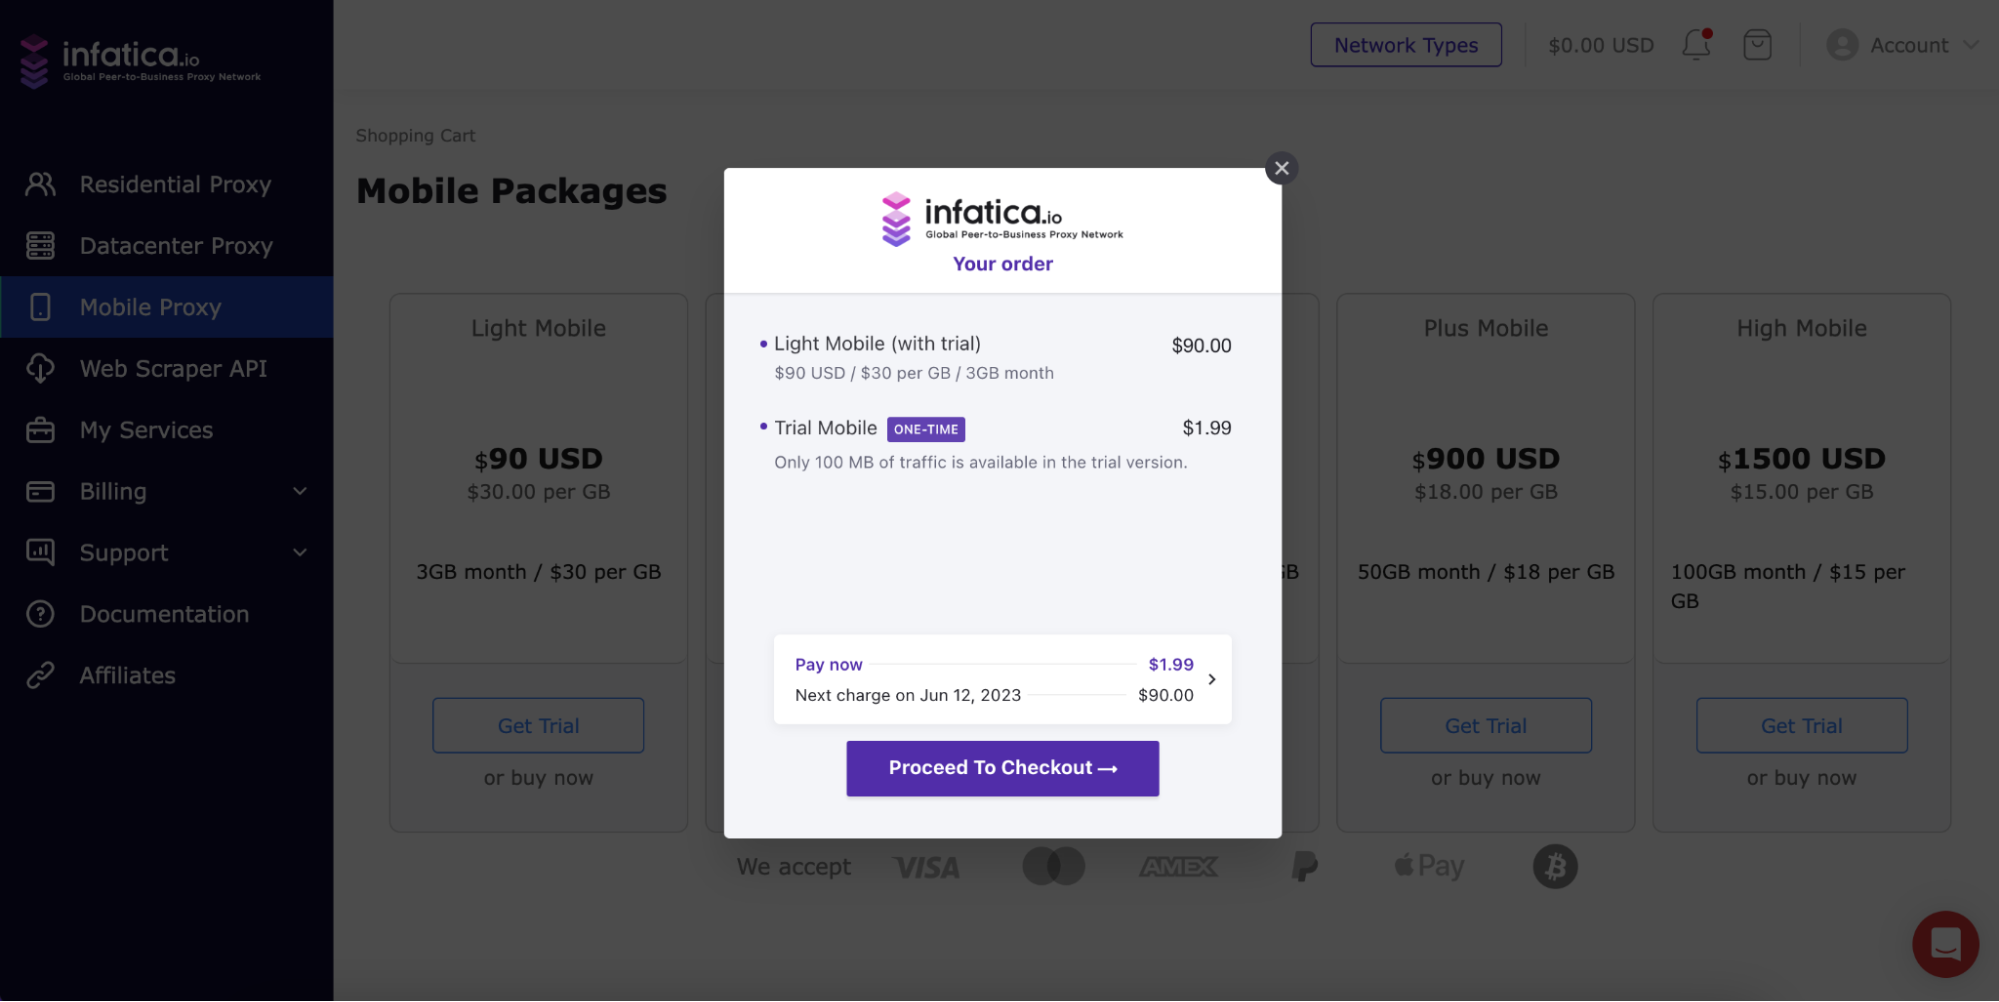
After that, you will be redirected to the Billing section, click the “Proceed To Checkout” button to purchase, then choose a payment method and click Complete order.
Credit Card, Crypto, Balance, Bank transfer

To buy plan, go to the Services section in your account, select Mobile Proxy, select Payment Method and click "Buy now" button.
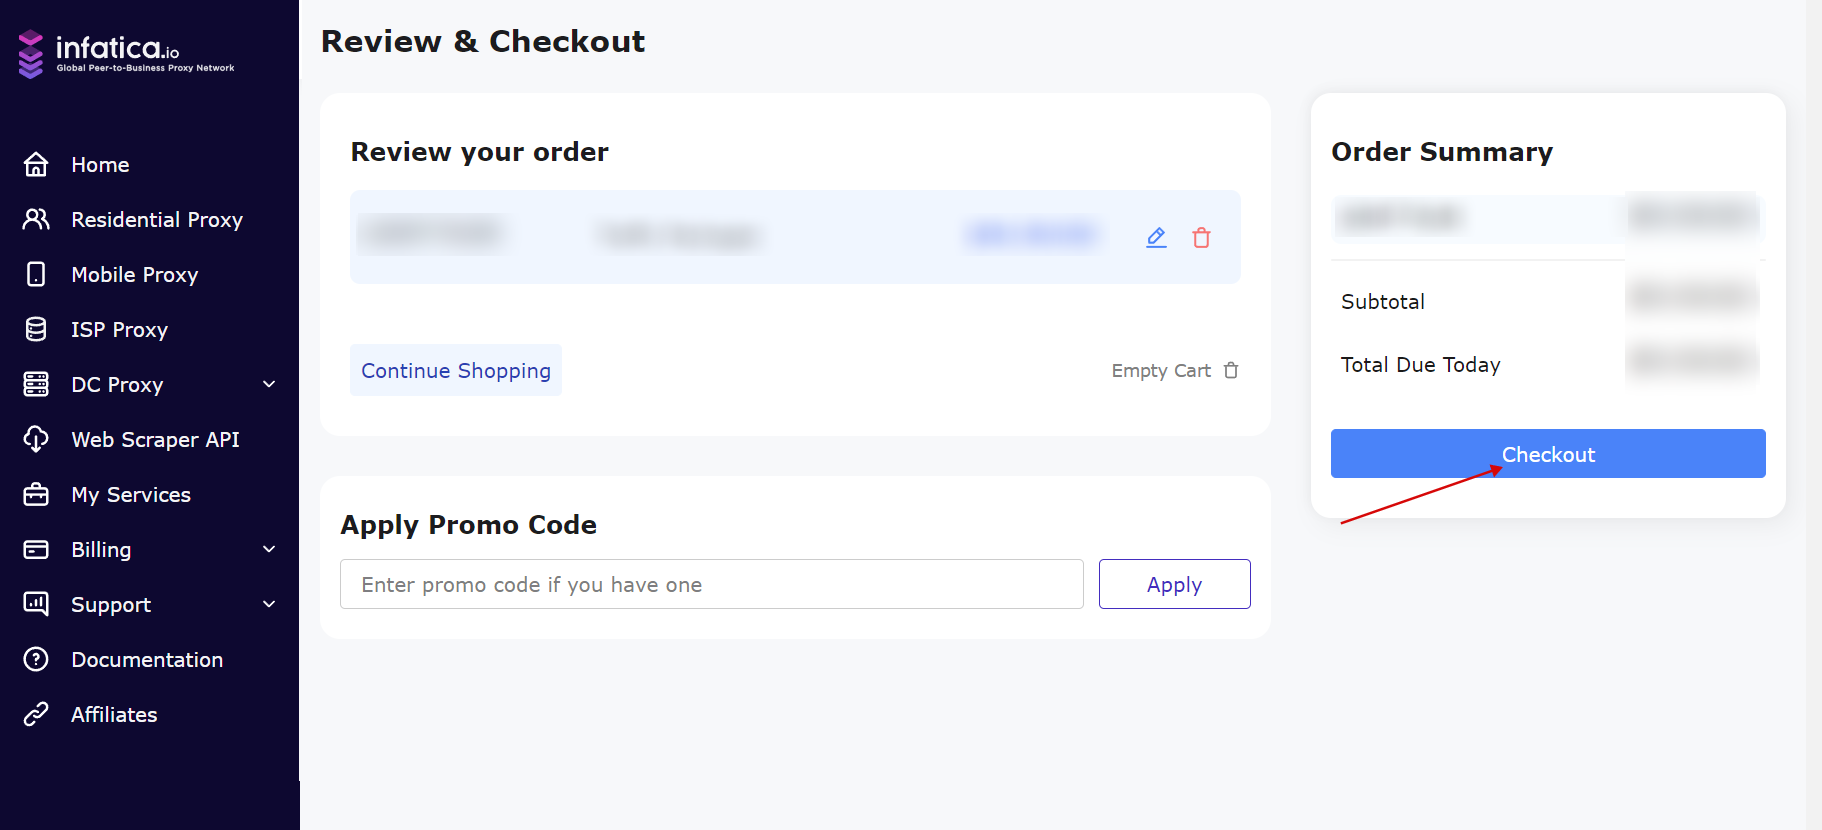
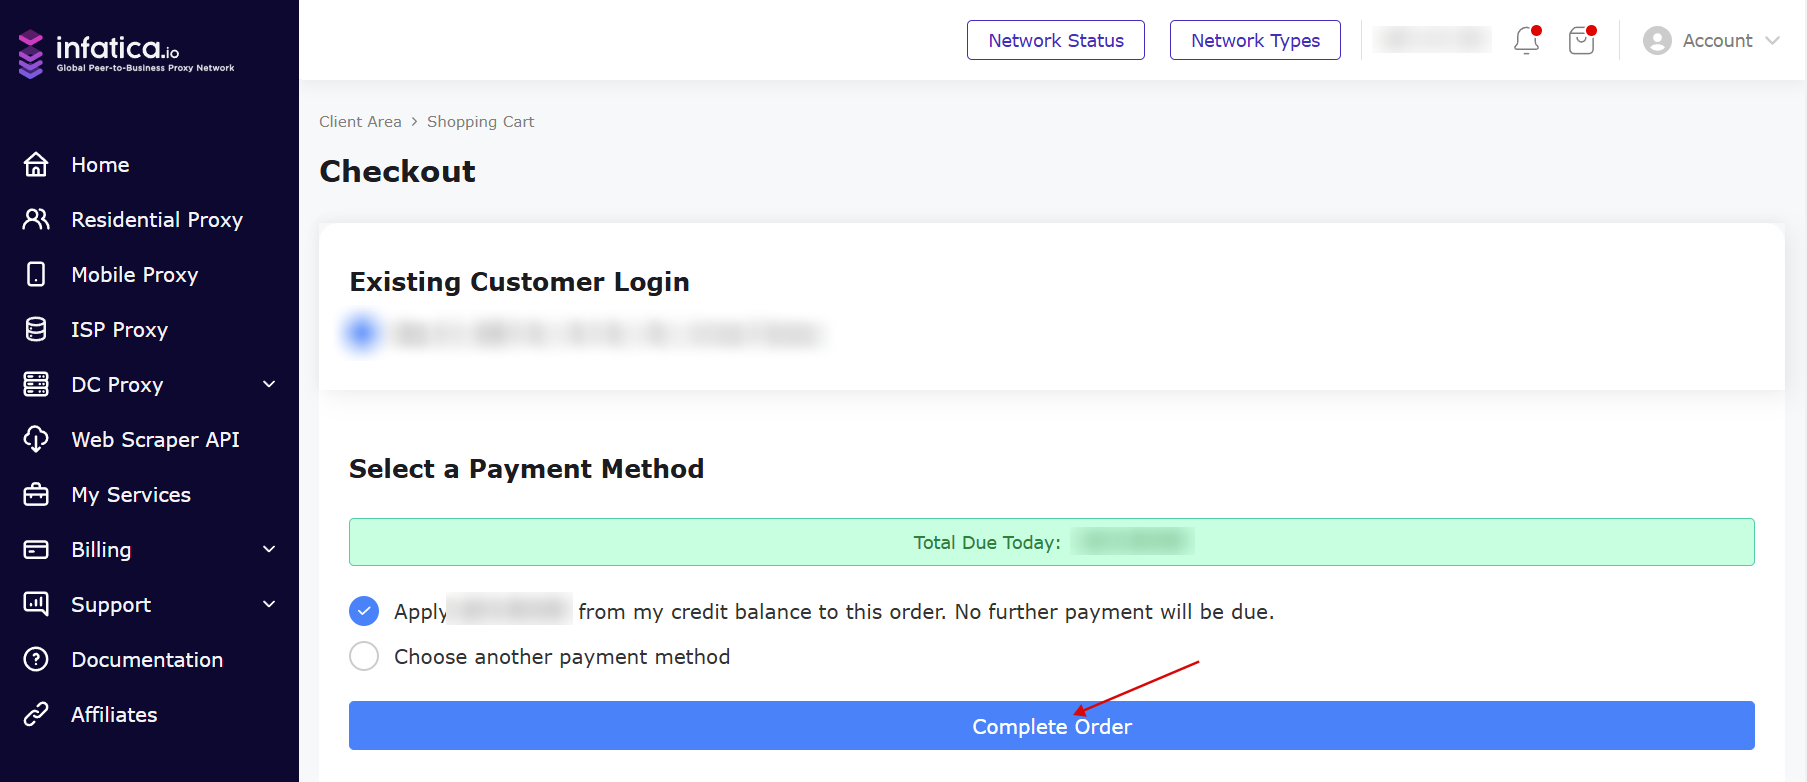
After that, you will be redirected to the Shopping cart page, click the “Checkout” button to purchase, then click "Complete order" and pay. If you have funds on your balance you can apply it from your credit balance to this order in this page.
Payment methods cannot be changed when buying with "Credit card, PayPal" to "Crypto, Balance, Bank transfer" and vice versa, due to technicalities.
How to create and work with a Mobile Proxy list
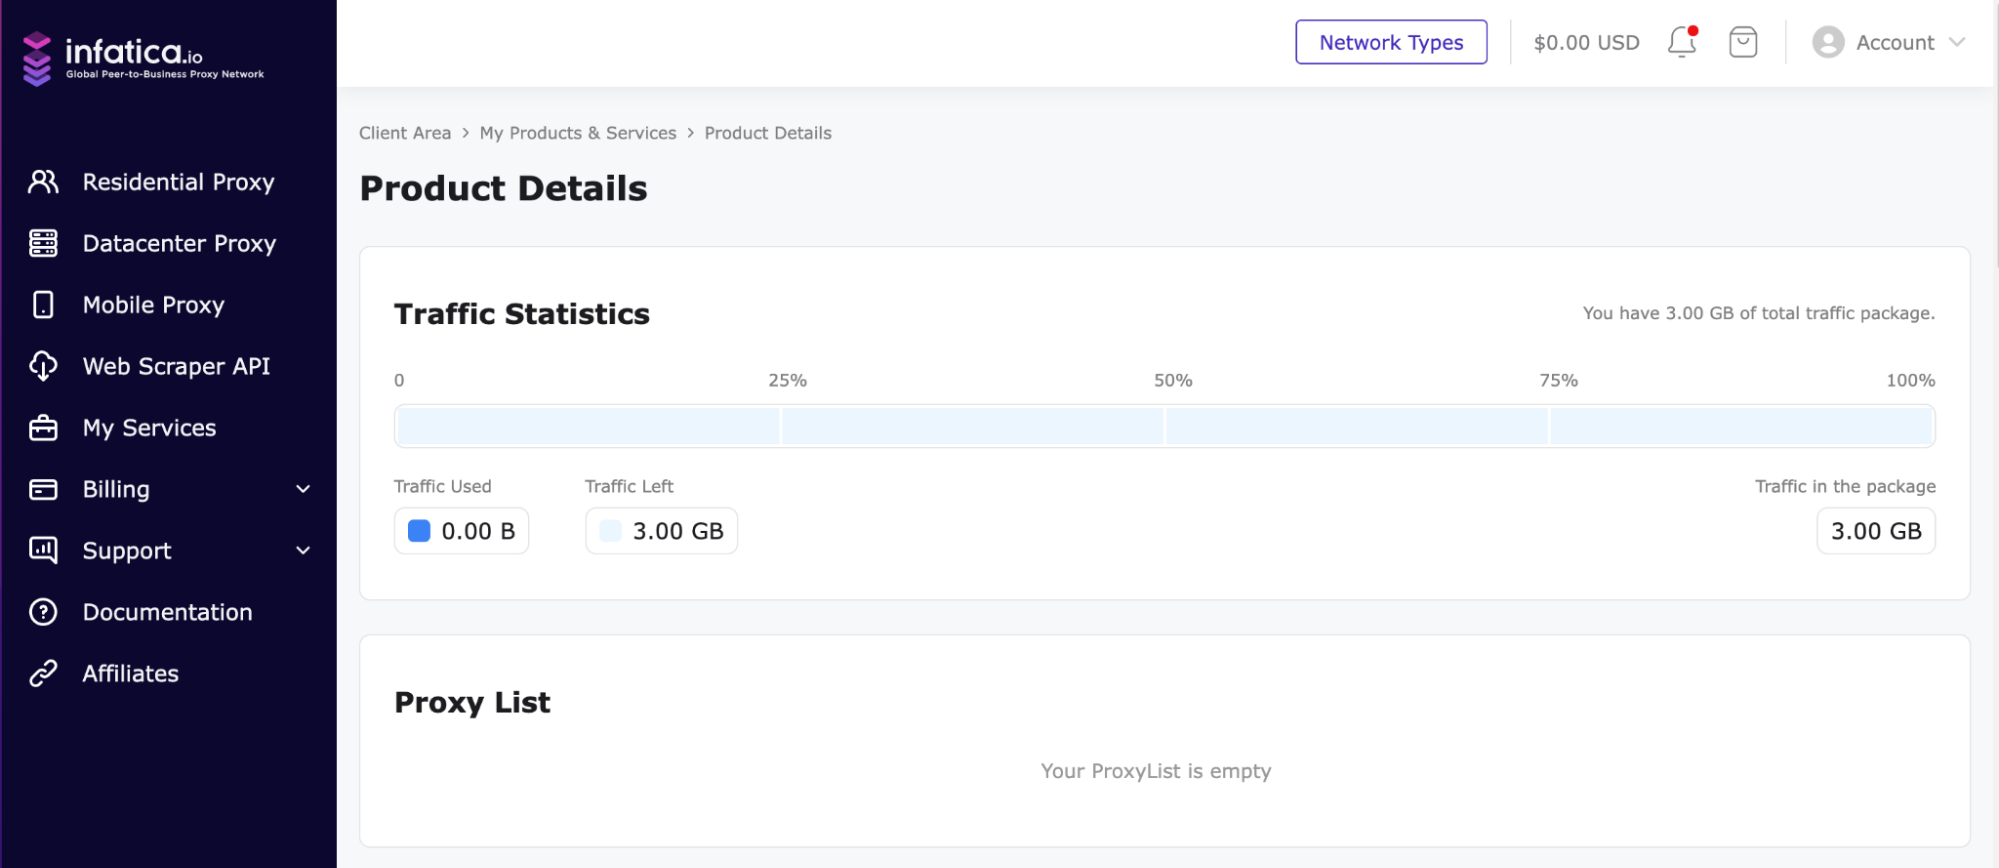
On the My Services section, click on your active Mobile Proxy Plan and you will be redirected to the Proxy list generation page.

On the proxy list generation page, you will see general information about your Proxy plan, in the middle, you will see active proxy lists after they have been created.
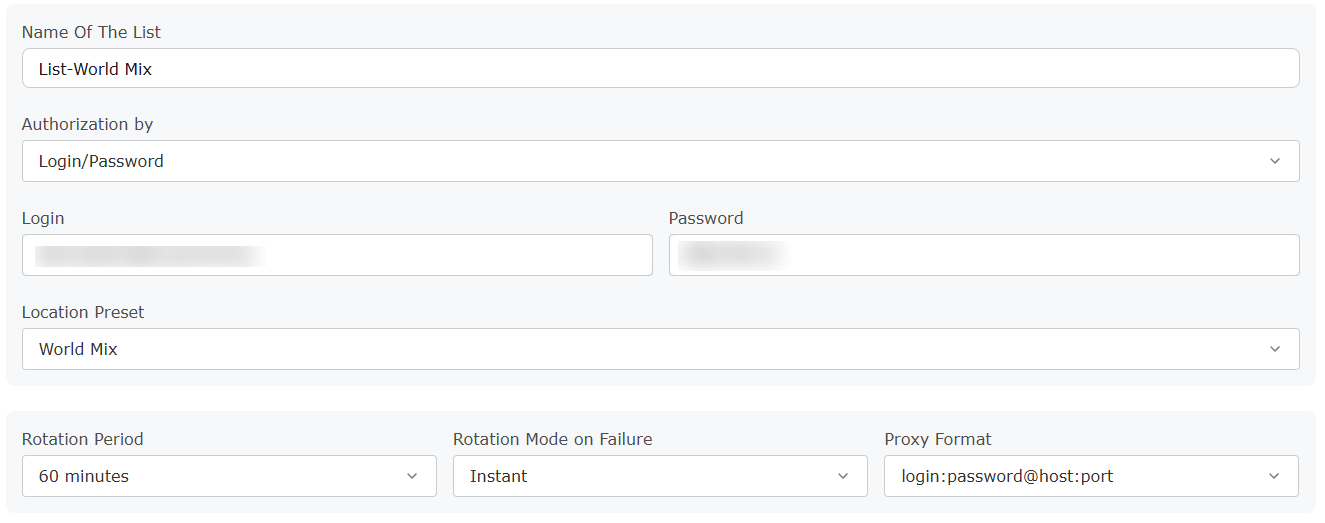
Next, let's move on to the fields for generating a proxy list and describe them in more detail.
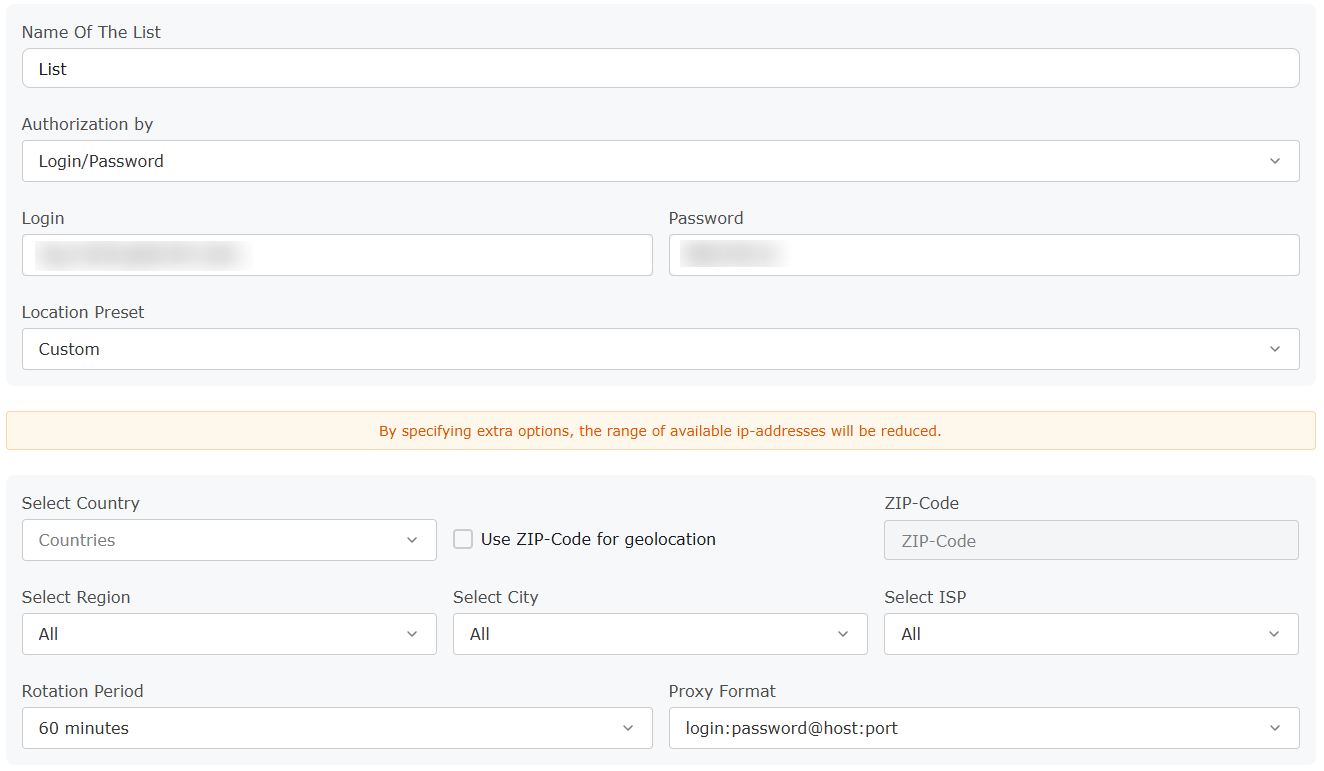
Name Of The List
The default name is List-World Mix, however, you can specify any name for your proxy list for quick identification.
The Authorization
This field contains two authorization options: login/password and IP whitelist.

If you select the login/password authorization option, you will see below the areas with the provided login and password for your proxy list.
If you choose the IP whitelist authorization option, enter the IP address, subnet, or multiple IP addresses separated by a comma in the fields below.

Location Preset
You can select World Mix, Europe, Asia, North America, Latin America and the Caribbean, Africa, Oceania, or Custom location in this field.

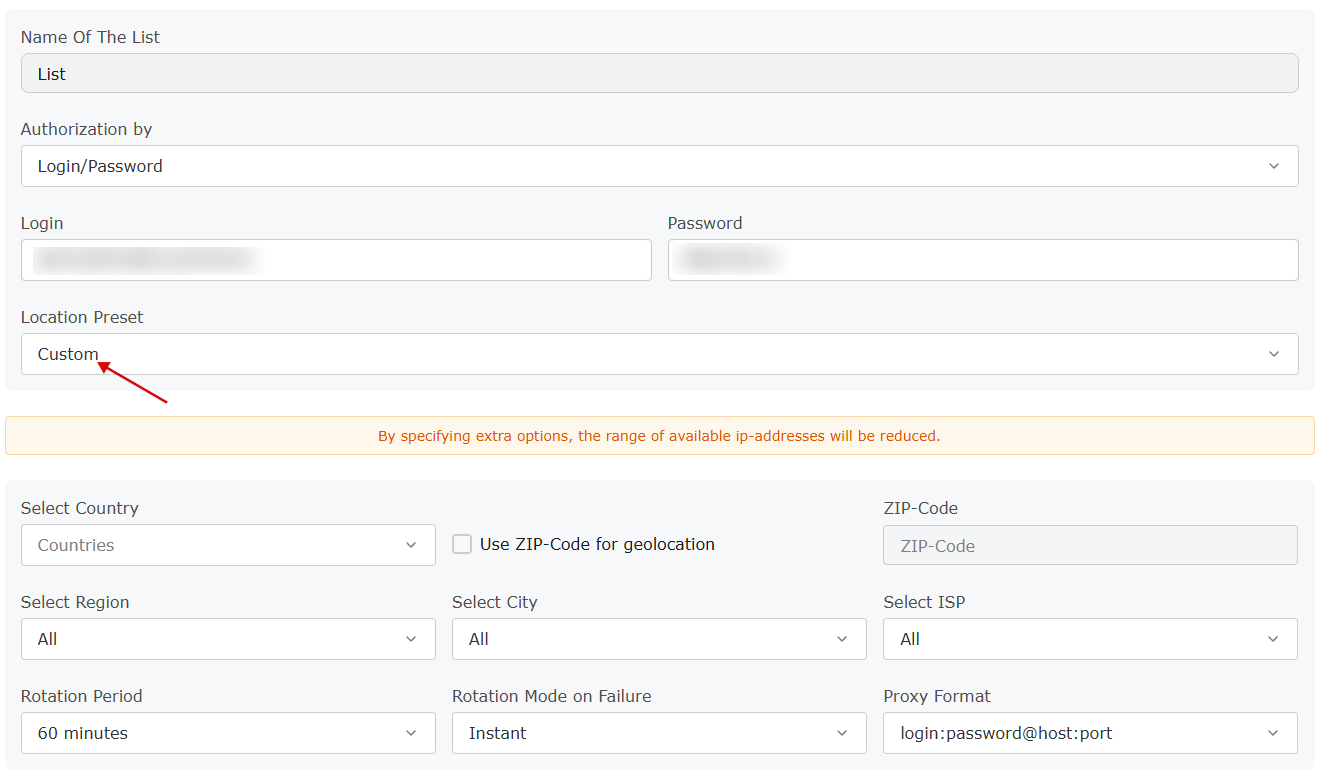
If you select a Custom location, you can additionally select Country, Region, City, ISP or specify Country and ZIP code (select Use ZIP-Code for geolocation checkbox).
Click and select Custom in the Location preset and then you can select Country, Region, City, ISP or ZIP.
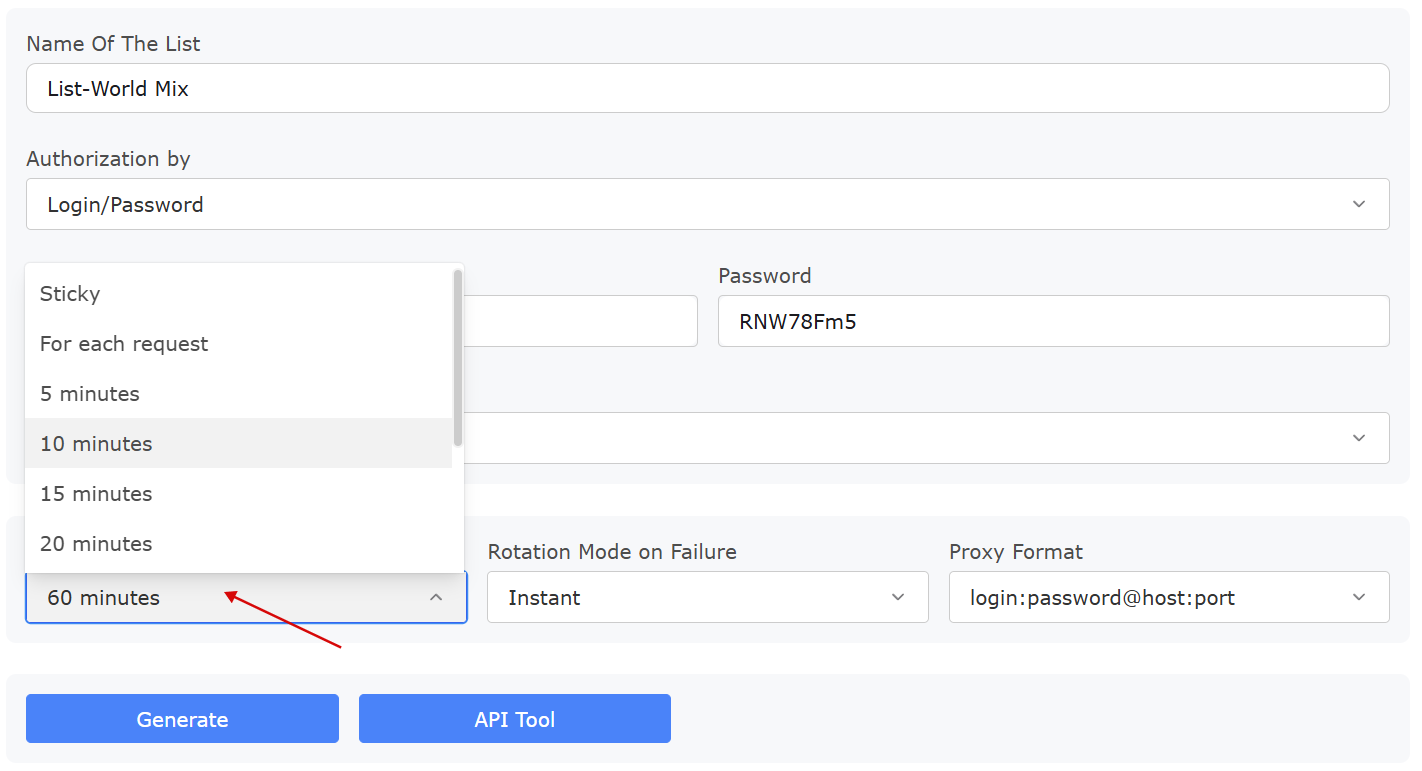
Rotation period
You can choose between different proxy rotation options: timed rotation (every 5/10/15.../60 minutes), rotation with each request, or sticky. Proxies are available for a set period of time after which they are rotated. If a proxy becomes unavailable, it may be rotated earlier than you specified.
Rotation mode
Rotation mode controls what happens when no exit node is available during request routing.
| Value | Behavior |
|---|---|
Instant | Instant rotation (default). If no exit node, then try to immediately find another one. |
5 seconds | 5-second delay. If no exit node, then there will be a response error for a while until inactive exit nodes will be excluded from the list and the port is assigned a new IP. |
No rotation | No rotation. The proxy assigned to the port will function only while the IP is available. |
Proxy format/protocols
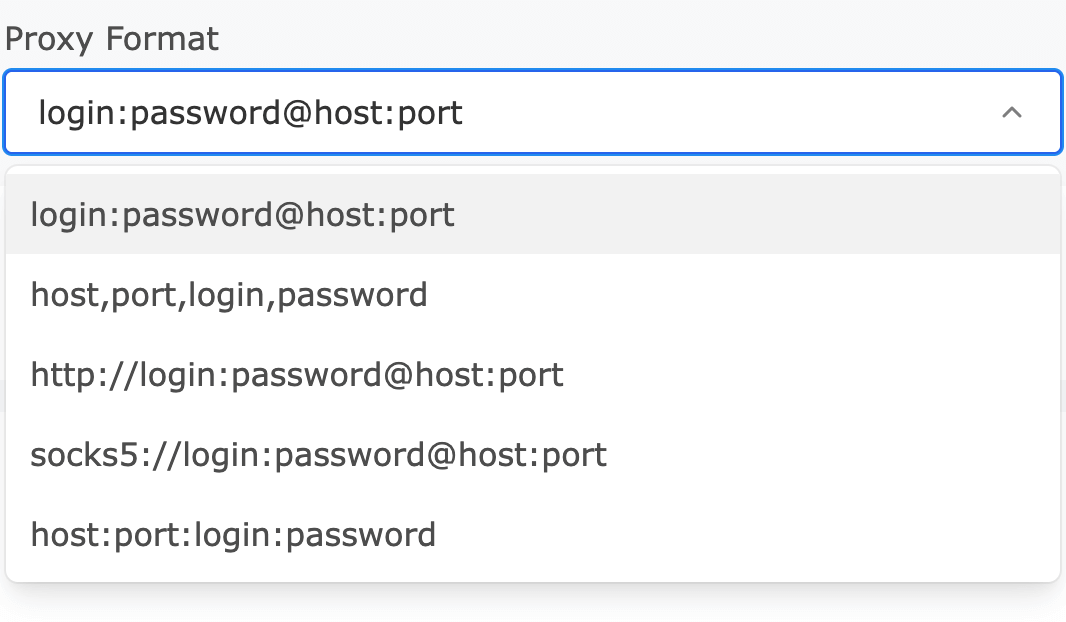
Here you can select proxy formats
login:password@host:porthost,port,login,passwordhost:port:login:password
As well as HTTP or SOCKS5 protocols.
http://login:password@host:portsocks5://login:password@host:port
After all the settings, click the Generate button and your proxy list will appear at the top right.
Proxy lists
You can look for all the lists you have created in the "Proxy List" section of your proxy plan. Click on the desired proxy list and you will see a list of your proxies for it.
Traffic usage
By plan/subscription:
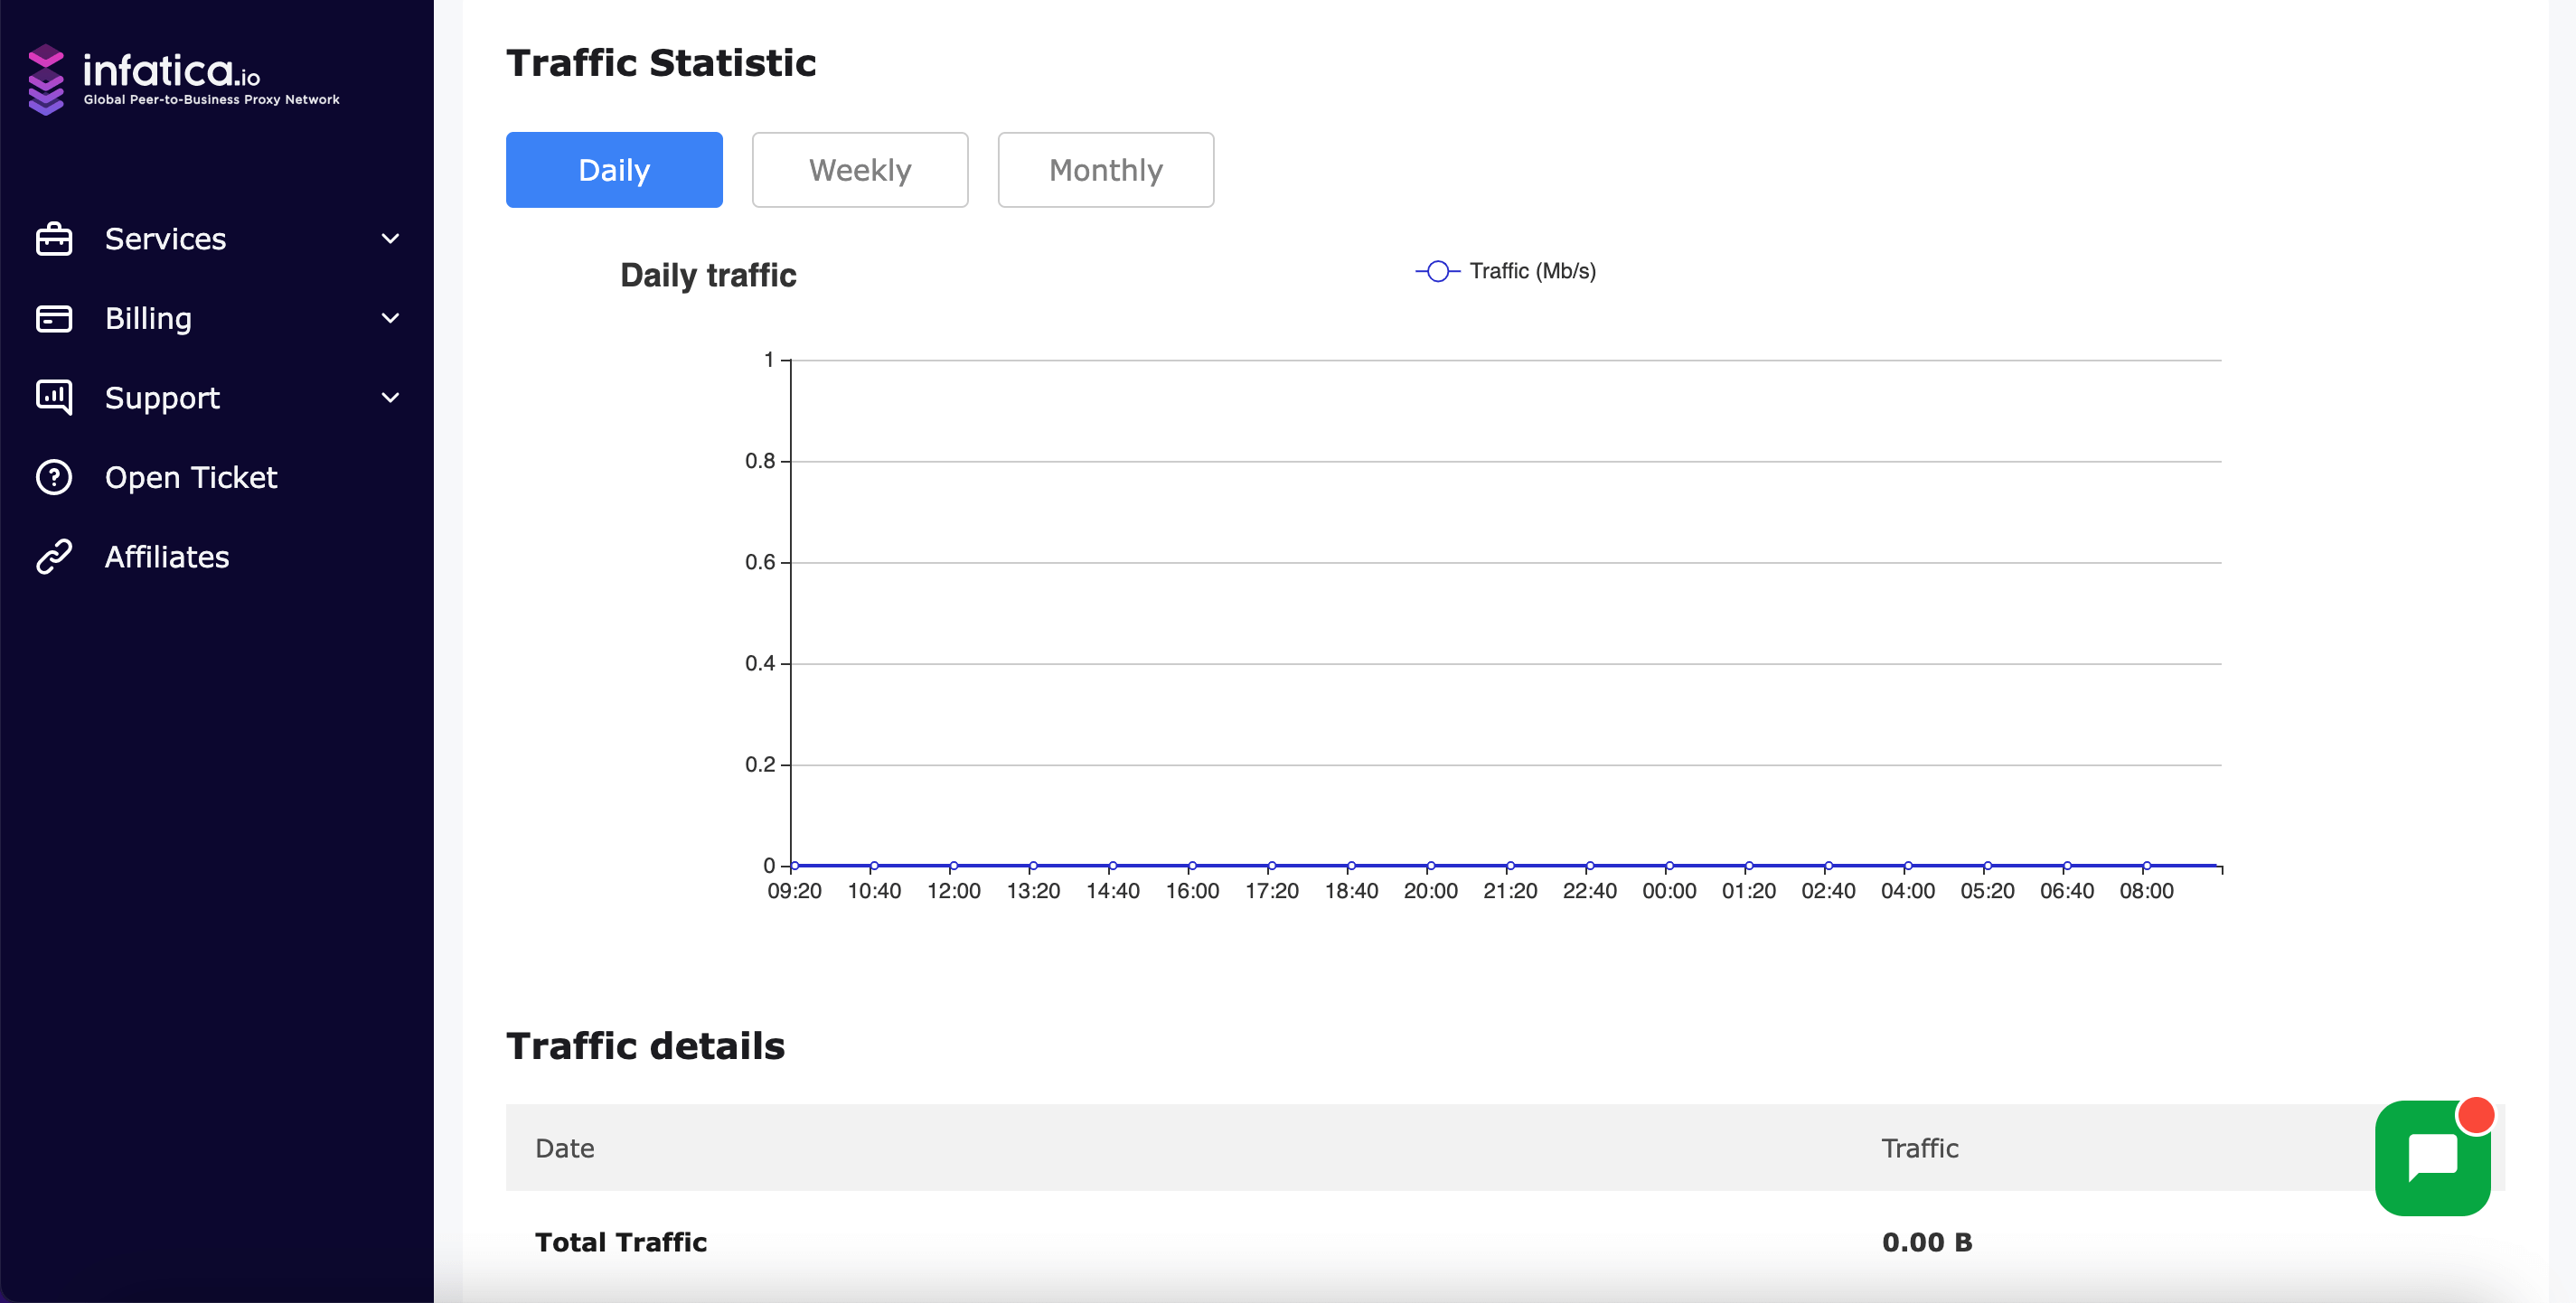
Below you will see statistics on proxy traffic usage.
By proxy list:
Click on the three-dot button to the right of the proxy list name and click on the Traffic button. In the link that opens in a new window, you will see statistics on traffic consumption in the current proxy list by days.
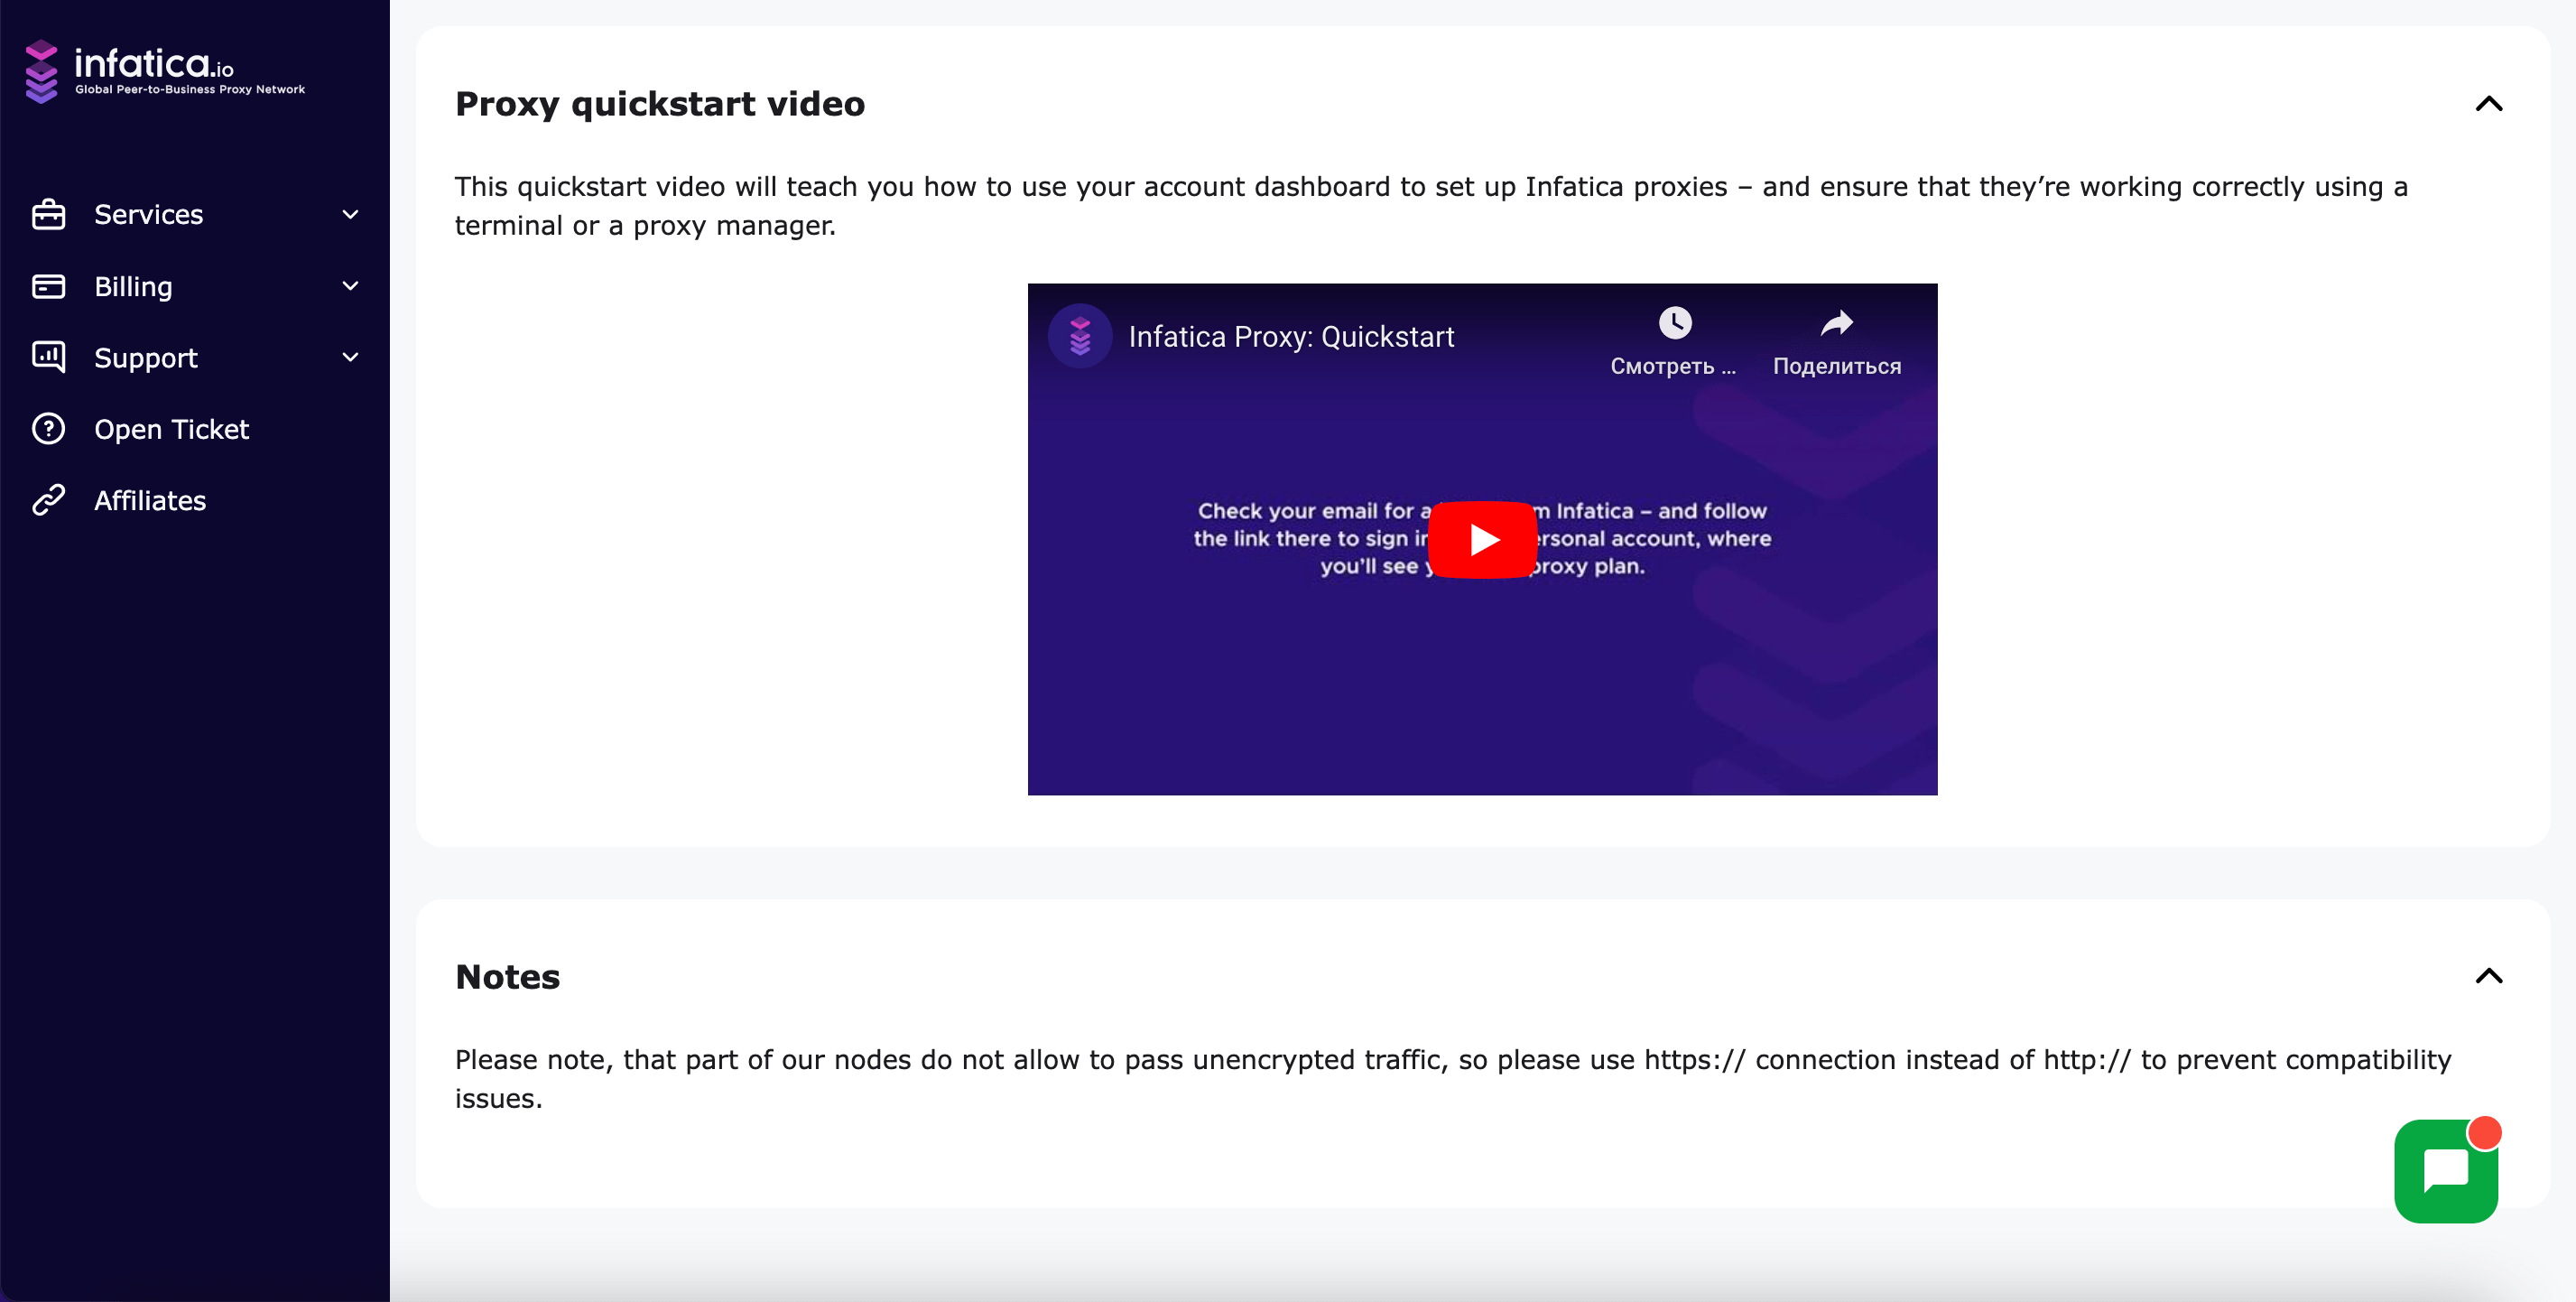
And at the very bottom, you will see a video guide on how to use proxies and notes on how to use them.
Now, let's go to the proxy list and open it. The proxy list has up to 100 ports that you can work with at the same time. You can use Infatica's Mobile Proxies with any software or in your browser.
For simultaneous requests, use different ports.
Important note: Each IP address port corresponds to a unique IP address (e.g. pool.infatica.io:10005 and pool.infatica.io:10006 are different IPs).
IP Whitelist authorization
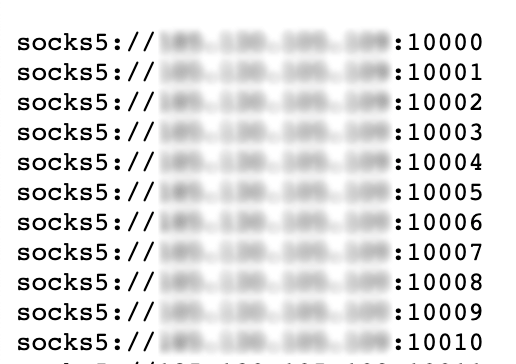
If you create a proxy list and use IP Whitelist authorization, the proxy list will have the format Host:Port.
IP whitelists have priority over regular proxy lists, which causes incompatibility between requests from different lists. For example, the 123.123.123.123-List-ByIP-US whitelist has the highest priority. If you're sending requests from 123.123.123.123 to a different regular list, it will be ignored and the requests will default to using the 123.123.123.123-List-ByIP-US whitelist.
Delete proxy list
To delete a list of proxies, click on the three dots located on the right side of the list you wish to delete, and then click the 'Delete' button.
Cancel plan/subscription
To cancel your subscription, go to Account in the upper right corner of your personal account, then click "Subscriptions" and click "Cancel".