- Headless browsers and automation
- What is Puppeteer?
- What is Puppeteer used for?
- What are Puppeteer's advantages?
- Puppeteer vs. Selenium: detailed comparison
- Running Puppeteer in the cloud
- Using Puppeteer to capture a web page snapshot
- Using Puppeteer to get a list of latest Hacker News articles
- Using Puppeteer with proxies
- Frequently Asked Questions

Web scraping has been on the rise over the years — with the data science industry booming and producing countless new business opportunities, more and more companies (and individuals, too) are trying web scraping.
Utilities like Puppeteer are an essential component of many web scraping pipelines. In this article, we’re taking a closer look at this software to better understand web scraping automation and how powerful Puppeteer really is in this field.
Headless browsers and automation
In our previous web scraping tutorial that covered cURL, we tried running different commands to send requests and retrieve data manually, i.e. typing each command again and again.
Although this approach is great for getting the feel of new software when you’re just starting out, it’s not sustainable in the long run: Data collection professionals are expected to parse thousands of web pages, so typing each command manually isn’t the best option. This is where web scraping automation comes to rescue: We can write little programs called scripts to let our machine do a lot of routine tasks for us.
What is Puppeteer?
In our overview of Python web crawlers, we mentioned that Puppeteer was a powerful Node.js library for automation in Chromium-based browsers — and that it integrated with web crawlers like Pyspider, too.
Here’s a more detailed explanation, courtesy of Puppeteer’s Readme page on GitHub:
Puppeteer is a Node library which provides a high-level API to control Chrome or Chromium over the DevTools Protocol. Puppeteer runs headless by default, but can be configured to run full (non-headless) Chrome or Chromium.
The definition above is rich with technical terms, so let’s unpack them to better understand what Puppeteer actually does:
Node library: Node.js is software that makes it possible to run JavaScript code outside the browser. This is a crucial feature for implementing web scraping functionality as it allows crawler bots to run independently from our browser instance.
API: The Application Programming Interface is a set of instructions that Puppeteer uses to control Chrome. While human users typically need a mouse/keyboard combo to use the browser, bots can interact with Chrome via its API and do much more.
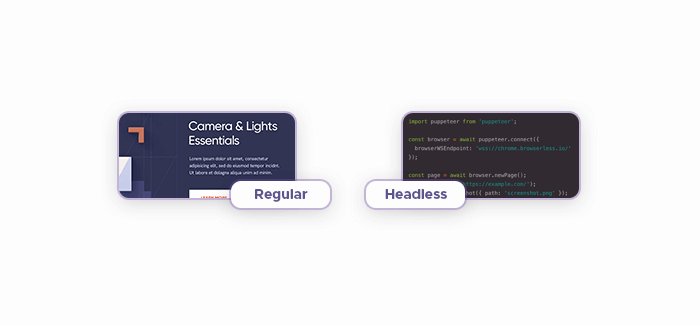
Headless: As outlined in our headless browsers overview, this is a web browser that lacks the GUI (graphical user interface.) While human users rely on GUI elements (buttons, scrolls, windows, and so on) to navigate the web, web crawling bots can do so in a text environment, simply following the commands that we provide them. Removing the GUI elements, therefore, is a great optimization trick: They cause unnecessary overhead as bots have no use for them.
What is Puppeteer used for?
As the project’s manual page states, Puppeteer excels at:
- Turning web pages into PDF files and taking screenshots,
- Testing user interfaces,
- Automating form submission,
- Creating powerful testing environments to check for performance issues,
- Testing Chrome extensions, and
- Crawling web pages.
Naturally, when it comes to data collection, we’re most interested in the latter point.
What are Puppeteer's advantages?
Puppeteer boasts several advantages over similar software. Here are its key features:
- Puppeteer is easy to configure and install using npm or Yarn.
- Puppeteer is faster than Selenium because it runs headless by default and has more control over Chrome.
- Puppeteer integrates well with popular testing frameworks such as Mocha, Jest, and Jasmine.
- Puppeteer supports Firefox and Chrome browsers.
- Puppeteer has vast community support from Google Groups, GitHub, and Stack Overflow.
Puppeteer vs. Selenium: detailed comparison
| Feature | Puppeteer | Selenium |
|---|---|---|
| Browser support | Chrome and Chromium only | Multiple browsers such as Firefox, Safari, IE, Opera, etc |
| Speed | Faster, runs headless by default, more control over Chrome | Slower, may require additional tools for performance testing |
| Use cases | Web scraping, screenshot testing, PDF generation, performance analysis | Cross-browser testing, mobile testing, integration with other frameworks |
| Programming language | JavaScript only | Multiple languages such as Java, Python, C#, etc |
| Community support | Smaller and newer | Larger and more active |
Running Puppeteer in the cloud
If you only want to play around with Puppeteer without too many commitments (installing Node.js, for instance), here’s some good news: The Puppeteer team created a dedicated web page where you can run Puppeteer in the cloud. Upon opening the cloud version, you’ll be presented with a code snippet — try pressing the RUN IT button to see what happens.
Using Puppeteer to capture a web page snapshot
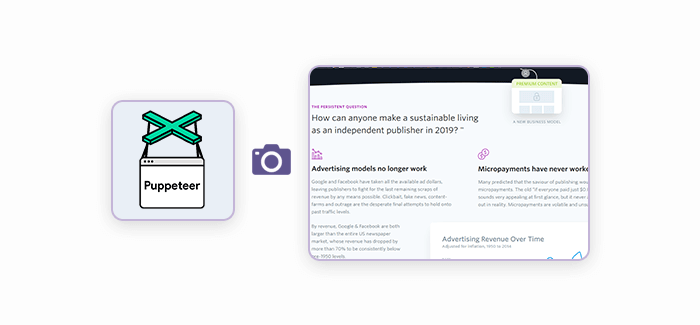
Puppeteer is a Node.js library, so we’ll need to install Node.js first — it’s available for all major operating platforms at their download page.
Although not a prerequisite per se, some JavaScript knowledge will be a plus: Both Puppeteer and a large portion of the web are built with JavaScript, so understanding its syntax will allow you to fine-tune the code snippets you see in this article.
To install pupp onto our machine, we’ll need to run the following command in our terminal app: npm i puppeteer --save: It orders npm (a package manager for Node.js software) to install pupp.
Create a file titled pup-screenshot.js. This neat little code snippet demonstrates Puppeteer’s ability to scrape web pages and take snapshots of them — paste it into pup-screenshot.js.
const puppeteer = require('puppeteer');
const url = process.argv[2];
if (!url) {
    throw "Please provide URL as a first argument";
}
async function run () {
    const browser = await puppeteer.launch();
    const page = await browser.newPage();
    await page.goto(url);
    await page.screenshot({path: 'screenshot.png'});
    browser.close();
}
run();
In this instance, we’ll receive a screenshot of example.com's main page if we run the following command: node pup-screenshot.js https://example.com.
Using Puppeteer to get a list of latest Hacker News articles
This code snippet will allow you to retrieve the newest articles from Hacker News:
const puppeteer = require('puppeteer');
function run () {
    return new Promise(async (resolve, reject) => {
        try {
            const browser = await puppeteer.launch();
            const page = await browser.newPage();
            await page.goto("https://news.ycombinator.com/");
            let urls = await page.evaluate(() => {
                let results = [];
                let items = document.querySelectorAll('a.storylink');
                items.forEach((item) => {
                    results.push({
                        url:  item.getAttribute('href'),
                        text: item.innerText,
                    });
                });
                return results;
            })
            browser.close();
            return resolve(urls);
        } catch (e) {
            return reject(e);
        }
    })
}
run().then(console.log).catch(console.error);
Using Puppeteer with proxies
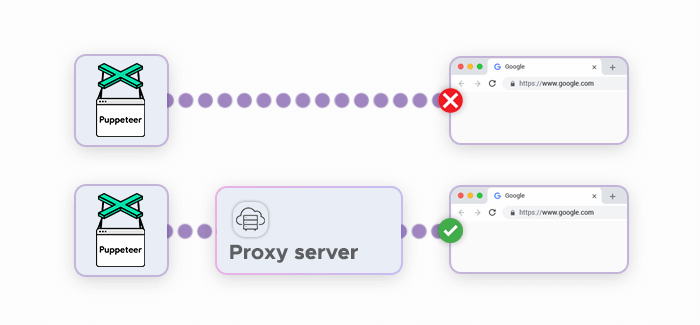
As we’ve laid out in this article, data collection relies heavily on automation. This is a blessing and a curse: Although automation allows web scraping professionals to scale their projects almost infinitely, it also introduces problems because websites are generally wary of automatic actions. They protect themselves with anti-scraping systems and block suspicious IP addresses or force them to complete CAPTCHAs.
This problem can be addressed by using residential proxies: They mask and rotate your Puppeteer’s instance IP address, making it much easier to collect data. Here’s a code snippet for enabling a proxy connection in Puppeteer:
'use strict';

const puppeteer = require('puppeteer');

(async () => {
  const browser = await puppeteer.launch({
    // Launch chromium using a proxy server on port 9876.
    // More on proxying:
    //    https://www.chromium.org/developers/design-documents/network-settings
    args: [
      '--proxy-server=127.0.0.1:9876',
      // Use proxy for localhost URLs
      '--proxy-bypass-list=<-loopback>',
    ],
  });
  const page = await browser.newPage();
  await page.goto('https://google.com');
  await browser.close();
})();
Here, the following line — '--proxy-server=127.0.0.1:9876', — defines your proxy server’s address and port.


