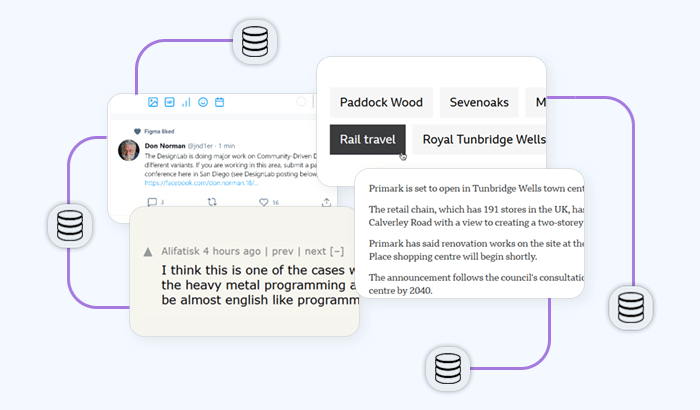

Web scraping is one of the applications that can benefit the most from the use of proxies. Web scraping software simplifies the task of extracting information from the web by automating the process of navigating through a site, collecting the desired data, and comping it into a structured format such as a database or Excel file. The need for proxies becomes more pronounced when parallelism is involved, namely, when the scraping software visits and extracts simultaneously from several pages. Parallelism is something you typically want in order to maximize the extraction speed, but it comes with the price of increasing the chances of triggering an IP ban or a CAPTCHA verification page. In this situation, a proxy rotation mechanism also comes handy in order to reduce the number of requests being made from a single IP.
In this case, we’re going to take a look at Helium Scraper, a point & click web scraper that provides the features mentioned above and can be quickly configured to run behind Infatica proxies. In what follows, I’ll provide step-by-step instructions on how to integrate Infatica proxies into Helium Scraper. (You may skip the first section if you’ve already installed the certificate and whitelisted your IP.)
Getting things ready
- Download and extract the Infatica certificate. This will prevent errors when visiting sites that require secure connections.
- Right-click the certificate file and select Install Certificate. When asked to select a certificate store, click Browse… and select the Trusted Root Certification Authorities store.
- If you haven’t already white-listed your IP, open your services page and select the service you’d like to use. On the next page, click the Add IP button and enter your IP (you can find your IP here).

Retrieving your proxy list
- To retrieve your proxy list, visit your services page once again and select the proxy service you will be using. Then click the Proxy List button and a list of proxy addresses and ports will be shown.
- Save the proxy list as a text file. In Chrome, this can be done at More tools ⇒ Save page as in the main menu. Optionally, edit the text file to delete some of the proxies if only some of them are needed.

Integrating proxies into Helium Scraper
- To import your proxies into Helium Scraper, launch the application and select File ⇒ Proxy List. If any proxies already exist, clear the list if you’d like to replace them with the new proxies.
- Press Import and select the proxy list file you exported previously and press OK. After importing the proxies, they will used by every Helium Scraper project where proxies are enabled.
Setting up your project
- To configure any particular project to use the proxies, load or create a project and select Project ⇒ Settings.
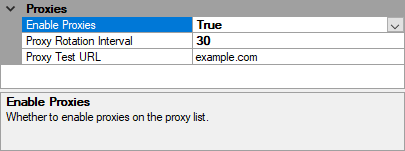
- Under the Proxies category, set Enable Proxies to True. Optionally, set a Proxy Rotation Interval (anywhere between 60 – 300 seconds usually works best) and a Proxy Test URL (this should usually be left as is, or use a URL in the site being scraped to ensure that every proxy being used works in this particular site).

Finally, to verify that everything worked correctly, visit whatismyipaddres.com or any other page that shows your IP address using Helium Scraper’s main browser, and confirm that it doesn’t show your actual IP. Also, if you open up the project log at View ⇒ Log you’ll get information about the proxies as they’re being rotated. From now on, every action performed by this project, and every other project in which proxies have been enabled, will run behind your Infatica proxies. For more information on how to work with Helium Scraper, be sure to check out Helium Scraper’s learning page.


